Neptune DB Cluster
How to Launch a Neptune DB Cluster?
You need to obtain an IAM user having NeptuneFullAccess permissions in order to use the Neptune console, then go ahead with the creation of a cluster.
“NeptuneFullAccess”: not supporting S3, VPC endpoints and VPC. They need to be added.
Permission must be given to Neptune for the sake of creating a service-linked role upon the first ever creation of a resource.
Those iam:CreateServiceLinkedRole permissions need to be given to the user which has NeptuneFullAccess. To learn more about IAM permissions, check the article for Amazon Neptune Create A Database.
{

"Action": "iam:CreateServiceLinkedRole",

"Effect": "Allow",

"Resource": "arn:aws:iam::*:role/aws-service-role/rds.amazonaws.com/AWSServiceRoleForRDS",

"Condition": {

"StringLike": {

"iam:AWSServiceName":"rds.amazonaws.com"

}

}

}
Launching a Neptune DB Cluster through the console:
- First you will need to start by signing into your Management Console, then opening Neptune console through the following link https://console.aws.amazon.com/neptune/home.
- Go straight to Databases

Neptune DB Cluster – Databases Page
- Select the option: Create database.
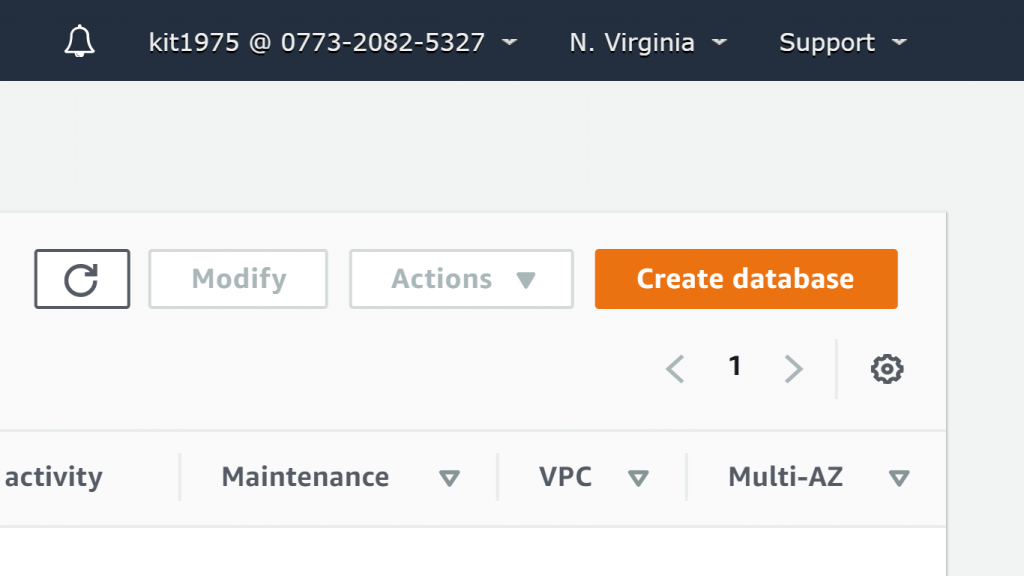
Neptune DB Cluster – Create Database
- From Specify DB details, below the Instance specifications choose a specific version to give to your newly created cluster. Except in the case that you obtain a particular idea in mind for utilizing older engine versions for the new cluster, keep your recent version at default value.


Neptune DB Cluster – DB Details
- From below Purpose, select Production otherwise Development and Testing.
- In case you choose Production, select one of the existing fixed-performance classes. Which class you select sets your memory and processing capacity of the new cluster.
Some of which include the following instances:
db.r5.large
db.r5.xlarge
db.r5.2xlarge
db.r5.4xlarge
db.r5.8xlarge
db.r5.12xlarge
db.r4.large
db.r4.xlarge
db.r4.2xlarge
db.r4.4xlarge
db.r4.8xlarge
In case you choose the Development and Testing, choose a T3 burstable instance class which is the most efficient in terms of cost when it comes to development effectiveness that does not require great capacity.
- Read-replica instances, created for a DB cluster in AZs that are not the same, are going to be located for the sake of improving their availability. In case you wouldn’t want this to occur, you will have to leave the Enable high availability (Multi-AZ)setting as enabled.
- For Settings, type in a name for the first write instance located in the cluster. The following identifier gets utilized in the endpoint address of this specific instance, and needs to be having the below obligations:
– Numerical Characters / Hyphens: 1 to 63
– 1st Character type: Letter
– Ending: No hyphen + No 2 consecutive Hyphens
– Not used in any of the other DB instances found in your account in a particular Region
- Click on Next. From Configure advanced settings page, it’s possible for you to change more settings for your cluster. The below shown table identifies the advanced settings for DB clusters.
| Option Name | What to do? |
|---|---|
| VPC | Select which VPC that to host your cluster. Click on Create a new VPC for getting a new one created. Later, create an EC2 instance within that exact VPC for accessing the Neptune instance. |
| Subnet group | Select a subnet group for using for your cluster. In case the VPC lacks subnet groups, then a subnet group will be created by Neptune. |
| AZ | Select a specific AZ, otherwise, select No preference so that Neptune does the choosing in your place. |
| VPC security groups | Select 1 or more security groups for keeping a safe network access. Click on Create a new VPC security group so that Neptune goes ahead with creating one for you. |
| DB cluster identifier | In case you choose not to set this value, one will be created by Neptune according to the DB instance identifier. |
| Port | Every single HTTP + WebSockets connection. 8182 is the default value for port. |
| DB parameter group | There is a default one which you could utilize, otherwise get a new one created. |
| IAM DB authentication | Select Enable IAM DB authentication for managing your access and security information through IAM. |
| Encryption | Click on Enable encryption for the sake of enabling encryption-at-rest. |
| Failover priority | In case of any contention, the replica having similar size like that of primary instance will get chosen. |
| Backup retention period | Length of time for having database backups: 1 to 35 days. |
| Log exports | Select your favored log types for getting them published to your CloudWatch logs. |
| Auto minor version upgrade | You can select the Enable auto minor version upgrade for letting the DB cluster get little Neptune DB Engine version upgrades as soon as they are found. |
| Maintenance window | It’s possible to select a particular weekly time range for allowing system maintenance occurrences. |
| Deletion protection | This will not allow your DB cluster to get deleted. If you remove the check from Enable deletion protection, it becomes enabled. |
- Click on Create database for the sake of launching your instance. Click on Close for closing the wizard.
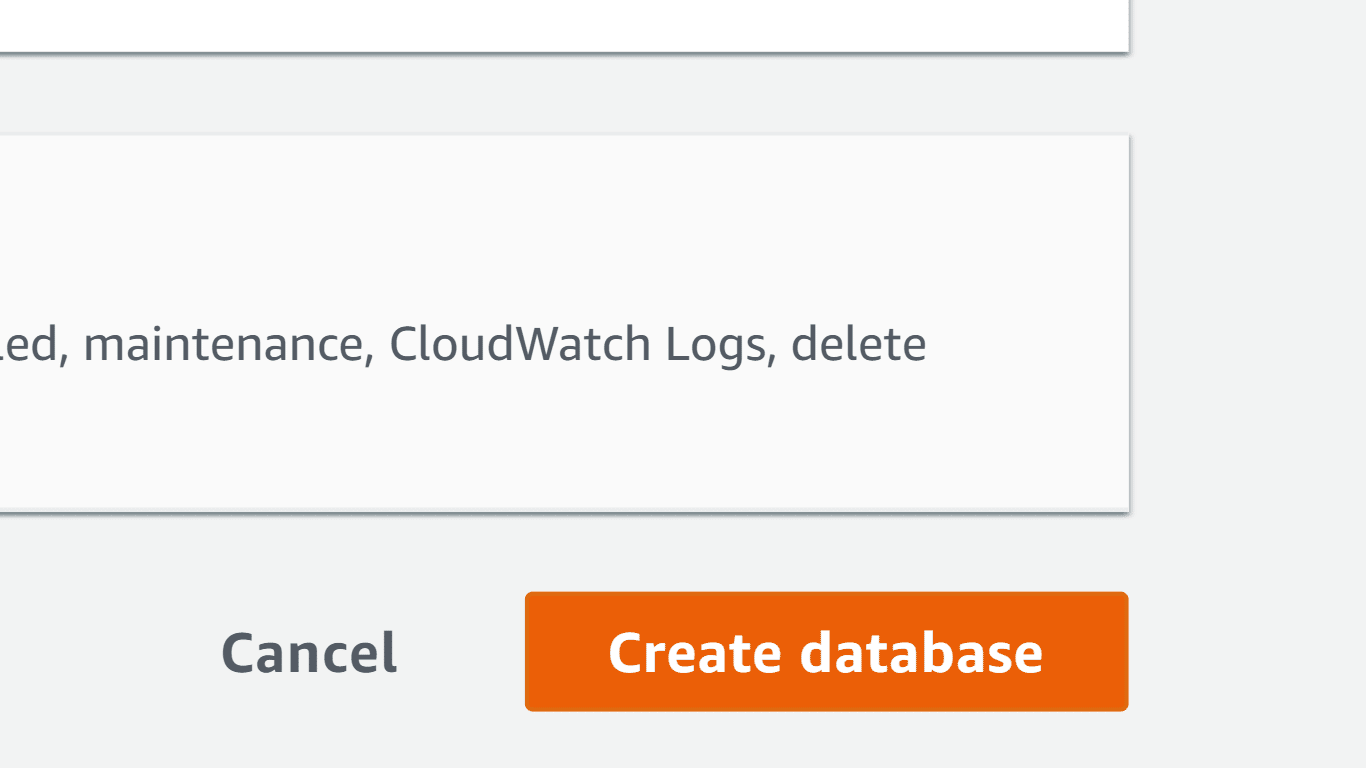
Neptune DB Cluster – Create or Close

On the console, the newly created DB cluster will show up under the listed Databases. It will maintain a Creating status till the time it gets created and becomes available to be utilized. As soon as the state becomes Available, go ahead and connect to the primary instance for DB cluster. It may possibly take several minutes for the instance to become available, this is based on what DB instance class was chosen and which store was allocated.
For the sake of viewing your new cluster, click on the Databases view from your Neptune console.