Billing and Cost Management
What is AWS Billing and Cost Management Dashboard?
Using the Billing and Cost Management service you will be capable of paying your AWS bills. You can also start monitoring your usage, and analyzing as well as controlling your cloud costs.
The credit card which you supplied upon sign up for a new AWS account, will be directly charged. Those charges will be shown on the monthly credit card bill.
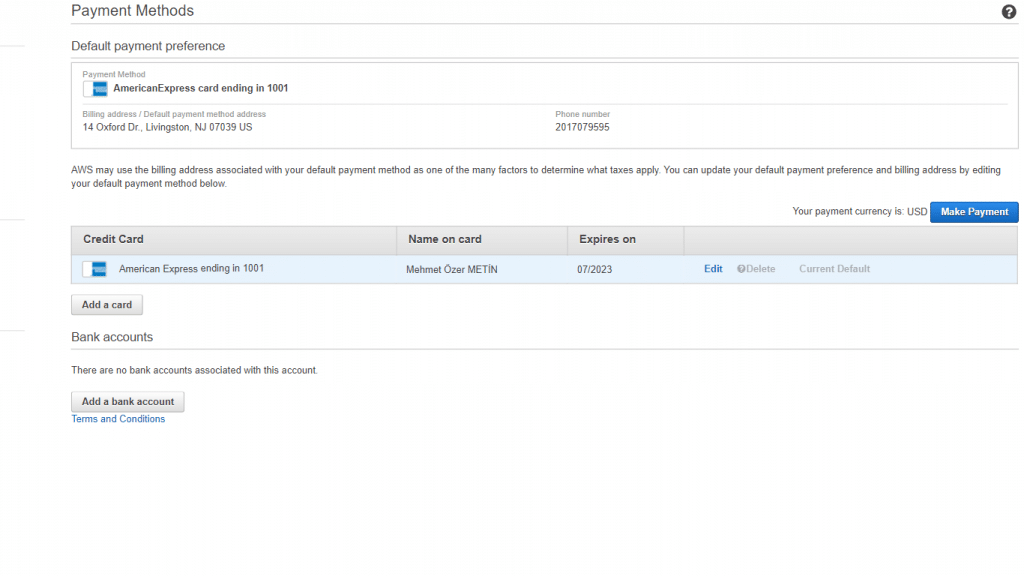
You are capable of checking or updating your credit card info, in addition to the ability to designate another credit card for your AWS charges, using the Payment Methods page provided on the Billing and Cost Management console.

Billing and Cost Management – Payment Methods
The Billing and Cost Management section of AWS offers you handful tools that can aid you in analyzing your cost drivers and usage trends, finding info regarding your cost and usage, as well as doing something for the sake of budgeting your spending.
What are the steps that you can do using the Billing and Cost Management Dashboard?
Go over the below steps to learn how you can get the chance to quickly go through the offered features of the Billing and Cost Management console and the dashboard.
First Step: Reviewing your usage
The Billing and Cost Management dashboard provides you with various different ways for the sake of viewing and monitoring your usage. Below you can check out the way that you can swiftly and easily display the options that you have utilized till now for this current month.

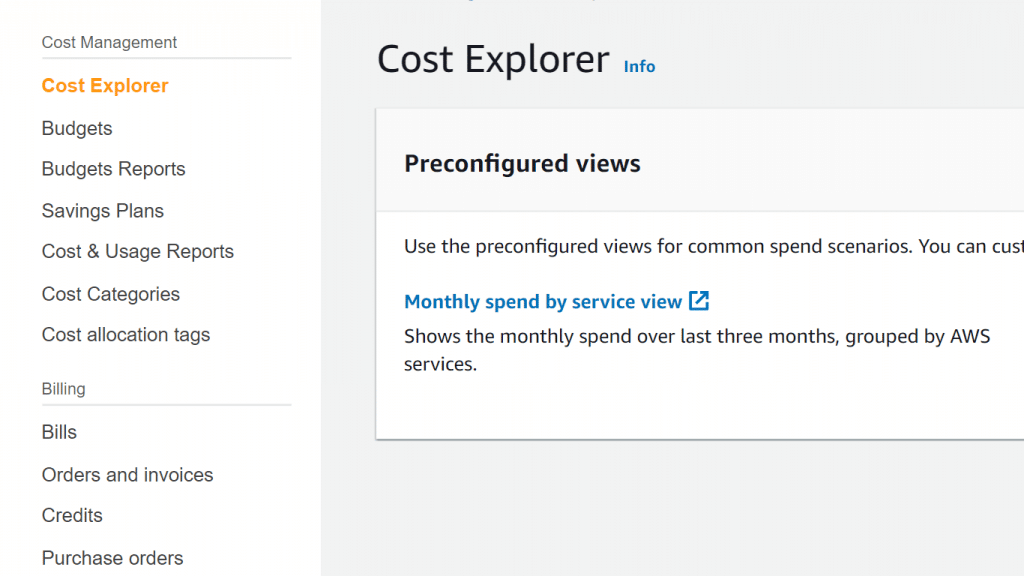
Billing and Cost Management – Usage
For opening the Billing and Cost Management console and reviewing your usage and charges using the Billing and Cost Management Dashboard:
- Login to the AWS Management Console. Then, head straight to the Billing and Cost Management console using the following link https://console.aws.amazon.com/billing/. The console will display the Dashboard, and there you get to check your current month-to-date usage graphs.
- From the left navigation pane, select your needed applicable action:
Cost Explorer
Click on Cost Explorer for the sake of tracking and analyzing your usage. Keep in mind that it’s free to use Cost Explorer for every single account.
Budgets
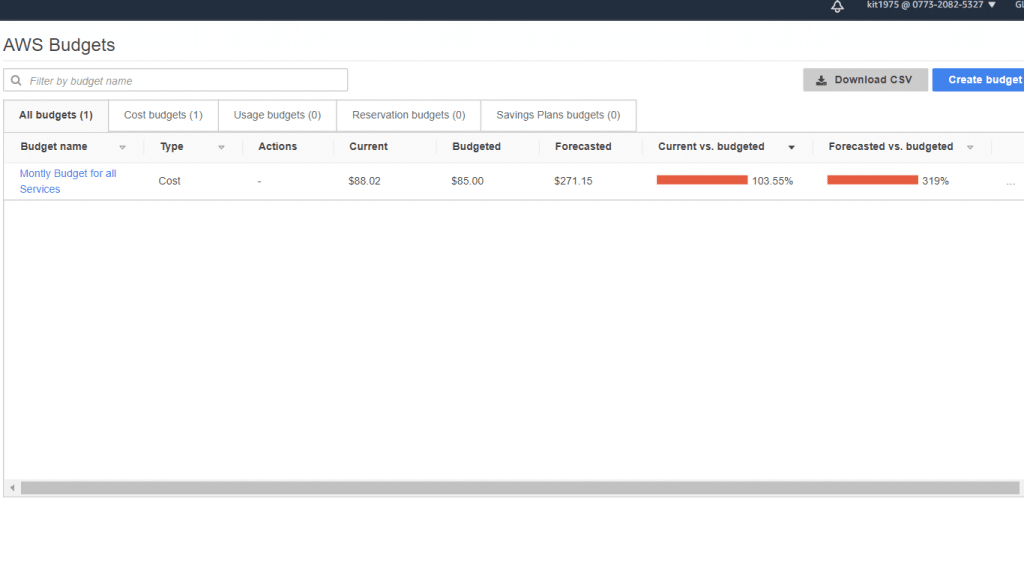
Click on Budgets for the sake of managing your account’s budgets.
It is also possible to go over the status of your free tier along with the offered AWS Free Tier usage alerts through AWS Budgets.
Bills
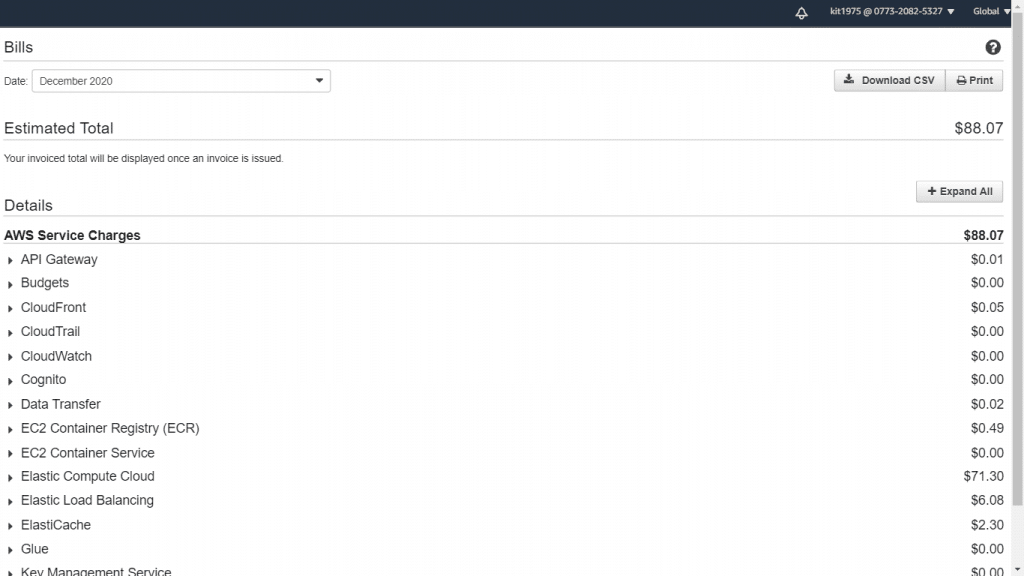
Click on Bills if you’d like to view details regarding your current charges.
Orders and Invoices
Click on Orders and invoices if you’d like to view your past payment transactions.
Second Step: Turning on reports
As well as the previously mentioned features in the first step, the AWS Billing and Cost Management provides you with a set of billing reports regarding your usage. They display the services which were utilized, how much time they were used, how much data you have transferred in and out of storage, and the average utilized storage space.
Third Step: Downloading or printing your bill
Billing and Cost Management ends the billing period on midnight every last day of the month, then calculates the bill. A lot of the bills become ready to get downloaded during the 7th accounting day of the month.

Billing and Cost Management – Bill
For downloading your bill:
- Login to the AWS Management Console. The head straight to the Billing and Cost Management console using the following link https://console.aws.amazon.com/billing/.
- From navigation pane, select the option Bills.
- In the section of Date, select which bill’s month you’d like to operate with.
- Click on Download CSV for the sake of downloading a comma-separated variable file. Otherwise, for printing it, click on Print.
Fourth Step: Setting up budgets for monitoring your account

Billing and Cost Management – Budgets
For creating a budget:
Follow the below process for creating a cost-based budget using the Billing and Cost Management Dashboard.
- Login to the AWS Management Console. Then, go straight to the Billing and Cost Management console using the following link https://console.aws.amazon.com/billing/.
- from navigation pane, select the option Budgets.
- In the upper part of the page, click on Create budget.
- In the section of Select budget type, select Cost budget.
- Click on Set up your budget.
- In the section of Name, type in your budget’s name. It needs to be completely unique in your account. It can include A-Z, spaces, a-z as well as those characters:
=+-%@_.:/
- In the section of Period, select how constantly you’d like your budget to reset the actual and forecasted spend. Select Monthly if you’d like it to reset each month, Quarterly if you’d like it to reset each 3 months, or Annually if you want it to reset each year.
- In the section of Budgeted Amount, type in your chosen total amount to be spent for the selected budget period.
- You can optionally choose for Budget effective dates, either Recurring Budget if you want your budget to reset when the budget period ends or Expiring Budget if you want a budget which won’t reset when the budget period ends.
In the section of Start Month, select which month you’d like the budget to begin.
Under Expiring Budget, in the section of End Month, select which month you’d like the budget to finish.
Budget time will be in UTC.
- You can optionally choose from under Budget parameters (optional), for Filtering, a single or multiple filters. According to what budget type you choose, the set of filters shown on the console will vary.
- You can optionally choose from under Budget parameters (optional), for Advanced options, a single or multiple filters from the ones mentioned below. In case of being signed in using an organization member account instead and not a management account, you may not get to find every single one of the advanced options.
Refunds
Received refunds.
Credits
Credits added to your account.
Upfront reservation fees
Any upfront fees that are charged to your account. When you purchase an All Upfront or Partial Upfront Reserved Instance from AWS, you pay an upfront fee in exchange for a lower rate for using the instance.
Recurring reservation charges
Recurring account charges. Upon buying a Partial Upfront or No Upfront Reserved Instance, you will be paying a recurring charge to get a lower rate of utilizing this instance.
Taxes
Taxes included in the charges of your budget.
Support charges
Support plan charges by AWS. Upon buying a support plan, you will start paying a monthly charge for getting service support.
Other subscription costs
Use blended costs
Cost of used instance hours. The blended rate will not add the RI upfront costs nor the RI discounted hourly rate.
Use amortized costs
Amortized cost used reservation hours.
- Click on Configure alerts.
- For the section of Configure alerts, for Alert 1, click on Actual for the sake of creating a notification for actual spend or Forecast for creating a notification based on your forecasted spend.
- In the section of Alert threshold, fill in the amount which you’d like to get notified when it’s reached. It could be a % or an absolute value. Let’s say, we have a budget of 200$, and you’d like to get be notified when you reach 160$ which means 80% of your entered budget, you have to add 160 as your absolute budget or 80 to be your percentage budget.
Beside the amount, click on Absolute amount to get notified whenever the threshold amount is exceeded and select % of budgeted amount in order to get notified whenever the threshold % of the budget is exceeded.
- You can optionally fill in the needed email addresses of the people that you want to get the notification by entering them into the section of Email contacts, then selecting Add email contact. You can divide a number of email addresses using commas. You can add a maximum of 10 email addresses to one notification.
To get a notification, you must set an email address. You can as well set an Amazon SNS topic.
- You can optionally fill in the ARN of your Amazon SNS Topic in the section of SNS topic ARN, then click on Verify.
Each notification is capable of being subscribed to just a single SNS topic. You can learn how to Create an SNS Topic and then Subscribe to an SNS Topic.
In order to start receiving a notification, you will need to enter an email address. You may as well specify an SNS topic.
- Click on the option of Confirm budget.
- Go over your budget settings then click on Create.
Keep in Mind
Upon finally creating a budget using SNS notifications, Amazon SNS will send you a confirmation email straight to the inbox of your specified email addresses. I will have the following subject line: “AWS Notification – Subscription Confirmation”. The recipients of this email will need to click on Confirm subscription from the confirmation email in order to start getting notifications.
In case you have some questions regarding your bill, you can check the AWS Knowledge Center. In case of failing to find your needed answers from using the Knowledge Center, you can instead head to the account and billing support and check with them for free.