Amazon Neptune: Create A Database
Step One: AWS CloudFormation Prerequisites for Setting Up Neptune
Prior to creating a Neptune cluster, you must already obtain the below requirements:
– IAM permissions.
-Key pair.
- IAM Permissions
The below permissions provide you with the ability to get resources created for the CloudFormation stack:
Managed Policies
– NeptuneFullAccess
– AWSCloudFormationReadOnlyAccess
Extra IAM Permissions
As an extra for the managed policies that were listed above, you should include the below permissions as well so that you can create and delete your CloudFormation stack:
{
“Version”: “2012-10-17”,
“Statement”: [{
“Effect”: “Allow”,
“Action”: [
“cloudformation:*Stack”,
“ec2:*Instances”,
“ec2:*InternetGateway”,
“ec2:*Route”,
“ec2:*RouteTable”,
“ec2:*SecurityGroup”,
“ec2:*Subnet”,
“ec2:*SubnetAttribute”,
“ec2:*Vpc”,
“ec2:*VpcAttribute”,
“ec2:*VpcEndpoint”,
“ec2:AllocateAddress”,
“ec2:AuthorizeSecurityGroupIngress”,
“ec2:CreateNatGateway”,
“ec2:DeleteNatGateway “,
“ec2:DeleteVpcEndpoints”,
“ec2:DescribeAddresses”,
“ec2:DescribeImages”,
“ec2:DescribeInternetGateways”,
“ec2:DescribeKeyPairs”,
“ec2:DescribeNatGateways”,
“ec2:DescribeRouteTables”,
“ec2:DescribeVpcEndpoints”,
“ec2:DisassociateAddress”,
“ec2:createTags”,
“ec2:disassociateAddress”,
“ec2:releaseAddress”,
“iam:AddRoleToInstanceProfile”,
“iam:CreateInstanceProfile”,
“iam:CreatePolicy”,
“iam:CreateRole”,
“iam:CreateUser”,
“iam:DeleteInstanceProfile”,
“iam:DeleteRole”,
“iam:DeleteRolePolicy”,
“iam:DeleteUser”,
“iam:DeleteUser”,
“iam:DeleteUserPolicy”,
“iam:DeleteUserPolicy”,
“iam:GetAccountSummary”,
“iam:GetRole”,
“iam:GetRolePolicy”,
“iam:GetSSHPublicKey”,
“iam:GetUserPolicy”,
“iam:ListAccessKeys”,
“iam:ListAccountAliases”,
“iam:ListSSHPublicKeys”,
“iam:PassRole”,
“iam:PutRolePolicy”,
“iam:PutUserPolicy”,
“iam:RemoveRoleFromInstanceProfile”,
“rds:AddTagsToResource”,
“ssm:GetParameters”
],
“Resource”: “*”
}
]
}
Step Two: Utilizing a CloudFormation Stack for the sake of Creating a Neptune DB Cluster
You are capable of utilizing a CloudFormation template for setting up a Neptune DB Cluster.
- For the sake of launching the CloudFormation stack using the CloudFormation console, select 1 of the below regions to work with.
| Region |
| US East (N. Virginia) |
| US East (Ohio) |
| US West (Oregon) |
| Canada (Central) |
| Europe (Stockholm) |
| Europe (Ireland) |
| Europe (London) |
| Europe (Paris) |
| Europe (Frankfurt) |
| Middle East (Bahrain) |
| Asia Pacific (Tokyo) |
| Asia Pacific (Seoul) |
| Asia Pacific (Singapore) |
| Asia Pacific (Sydney) |
| Asia Pacific (Mumbai) |
| China (Ningxia) |
| AWS GovCloud (US-West) |
| AWS GovCloud (US-East) |
- From the page of Select Template, click on Next.
- From the page of Specify Details, select a key pair for the section EC2SSHKeyPairName.
- Click on Next.
- From the page of Options, click on Next.
- From the page of Review, choose the 1st check box for confirming that CloudFormation is going to create IAM resources. Choose the 2nd check box for the sake of confirming CAPABILITY_AUTO_EXPANDfor your new stack.
After this, click on Create.
– Neptune asks for specific permission for the sake of creating a service-linked role when you first try to create a specific Neptune resource. Include the following iam:CreateServiceLinkedRole permissions into the role or user which you’re granting NeptuneFullAccess.
{
“Action”: “iam:CreateServiceLinkedRole”,
“Effect”: “Allow”,
“Resource”: “arn:aws:iam::*:role/aws-service-role/rds.amazonaws.com/AWSServiceRoleForRDS”,
“Condition”: {
“StringLike”: {
“iam:AWSServiceName”:”rds.amazonaws.com”
}
}
}
For the sake of launching a Neptune DB cluster through the console, do the following:
- login to the Management Console, and head straight to the Neptune console using this link https://console.aws.amazon.com/neptune/home.
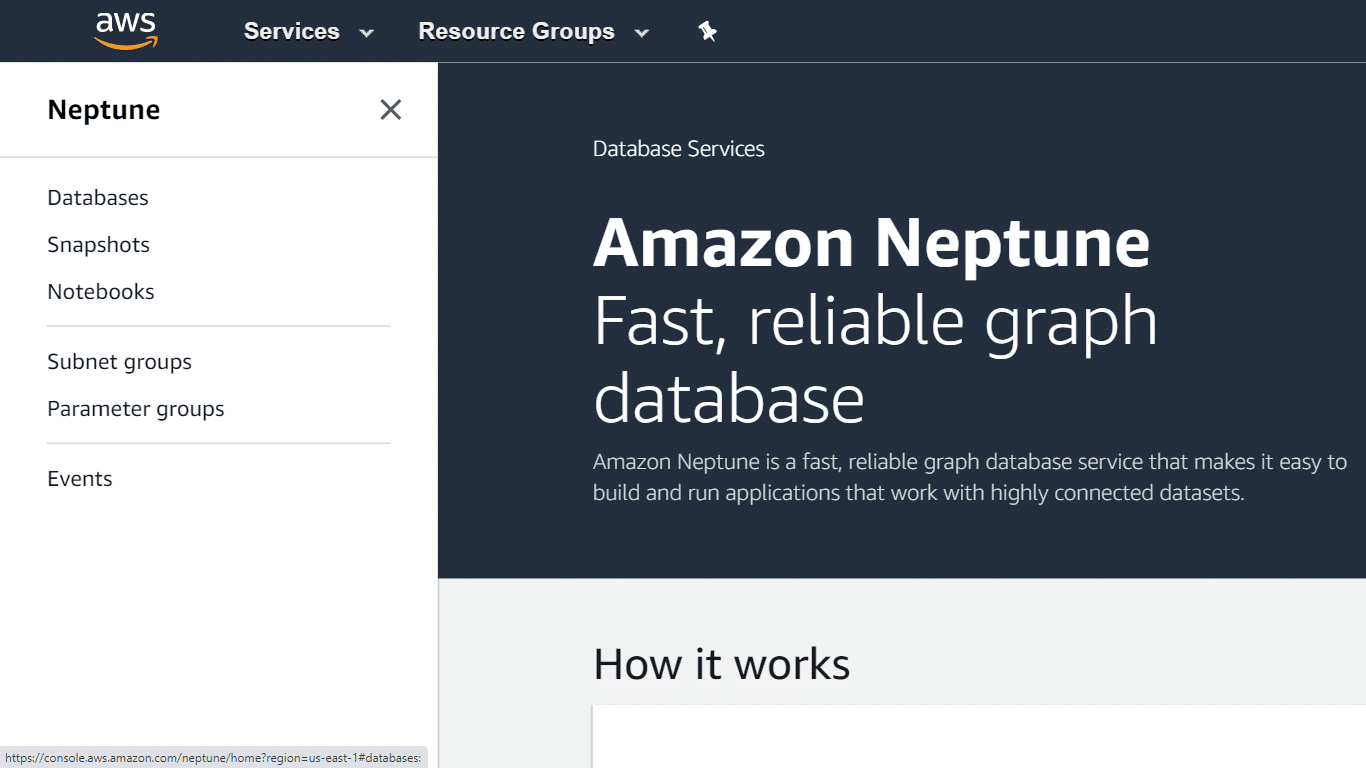
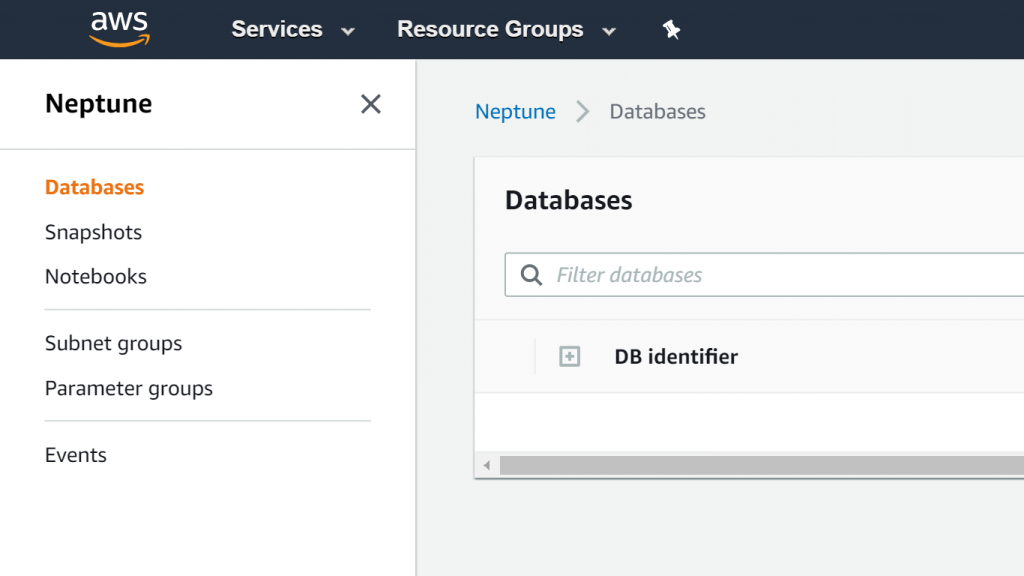
- Head to the page of Databases.
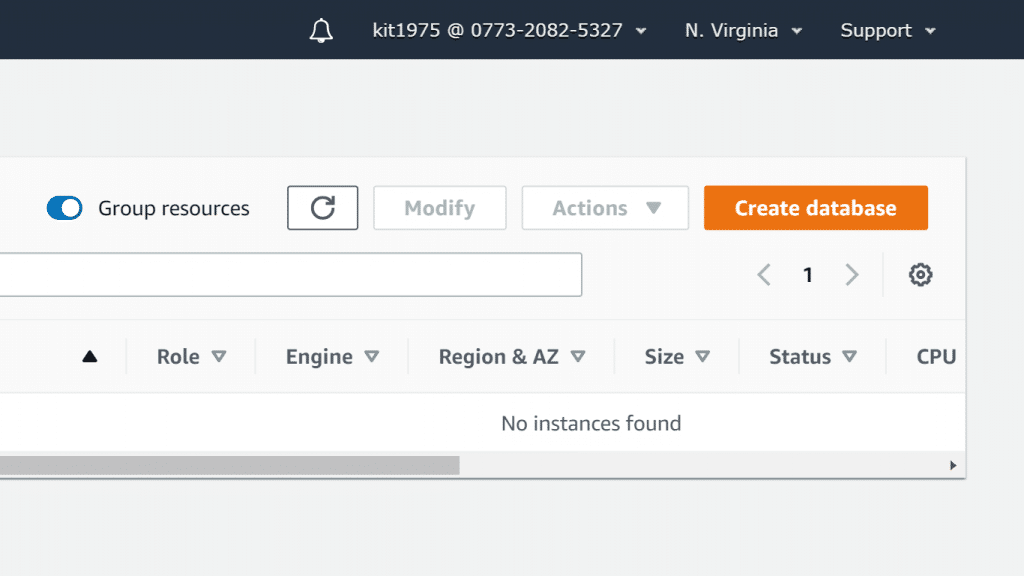
- Click on Create database.
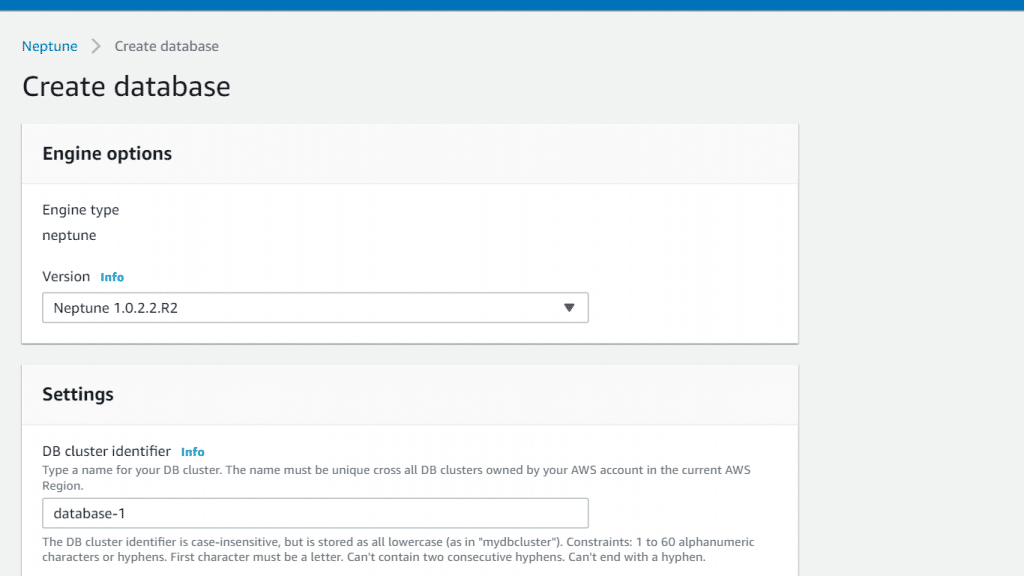
- From the page of Specify DB details, for the section of Instance specifications you are capable of choosing a particular DB engine version for the newly created DB cluster. If you don’t have a reason for utilizing the older version of the engine, simply keep the default value of the recent version.
- For the section of Templates, select Production or Development and Testing.

- In case you choose the option of Production, select out of the fixed-performance DB instance classes that are provided. The list of DB instance classes in your region might have the following:
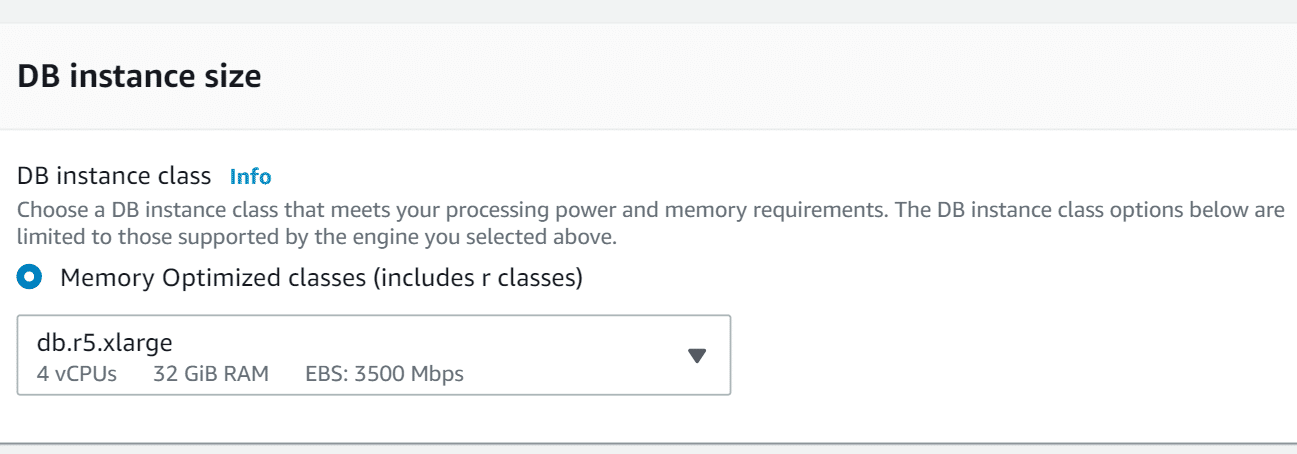
- r5.large
- r5.xlarge
- r5.2xlarge
- r5.4xlarge
- r5.8xlarge
- r5.12xlarge
- r4.large
- r4.xlarge
- r4.2xlarge
- r4.4xlarge
- r4.8xlarge
In case you choose the option of Development and Testing, you are capable of choosing a T3 burstable instance class.
- Neptune is going to find read-replica instances by default that are created by you for a DB cluster that is in different AZs for the sake of improving availability.
- For Settings, type in a name for the primary write instance in the DB cluster you’ve created. It is utilized in the endpoint address of your instance, and should have the below requirements:

- 1 to 63 hyphens or alphanumeric characters.
- Its first character needs to be a letter.
- Not ending with a hyphen and not having 2 consecutive hyphens.
- Needs to be unique over every DB instance in your account for a chosen Region.
- Click on Next. From the page of Configure advanced settings, customize even more settings for the cluster.
- Click on the button of Create database for the sake of launching this Neptune DB instance. After this, click on Close for the sake of closing and exiting the wizard.
Now, you will find on the Neptune console, the newly created DB cluster included in the list of available Databases. Your DB cluster will get Creating as its status up until it’s creation is complete and it becomes ready for using. Upon the state becoming Available, you will be then able to connect to the primary instance for this DB cluster. It may possibly take a couple of minutes for your new instances to become available.
Note: For the sake of viewing your newly created cluster, select the Databases view from the Neptune console.