AWS Neptune Subnet Group
How to create an AWS Neptune Subnet Group?
- Login to the Management Console, then head to the Neptune console using the following link https://console.aws.amazon.com/neptune/home.
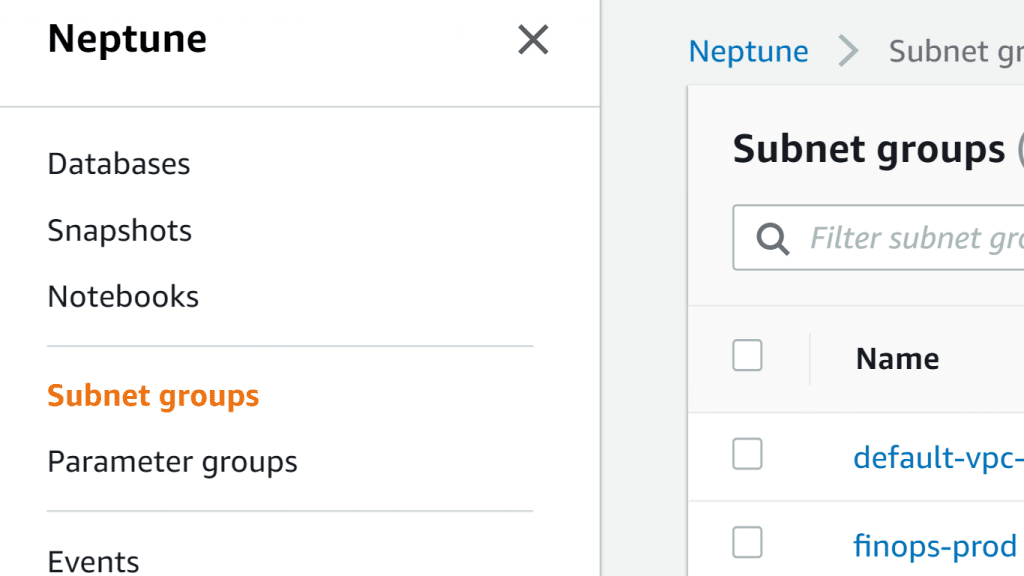
- Select Subnet groups from the navigation pane.
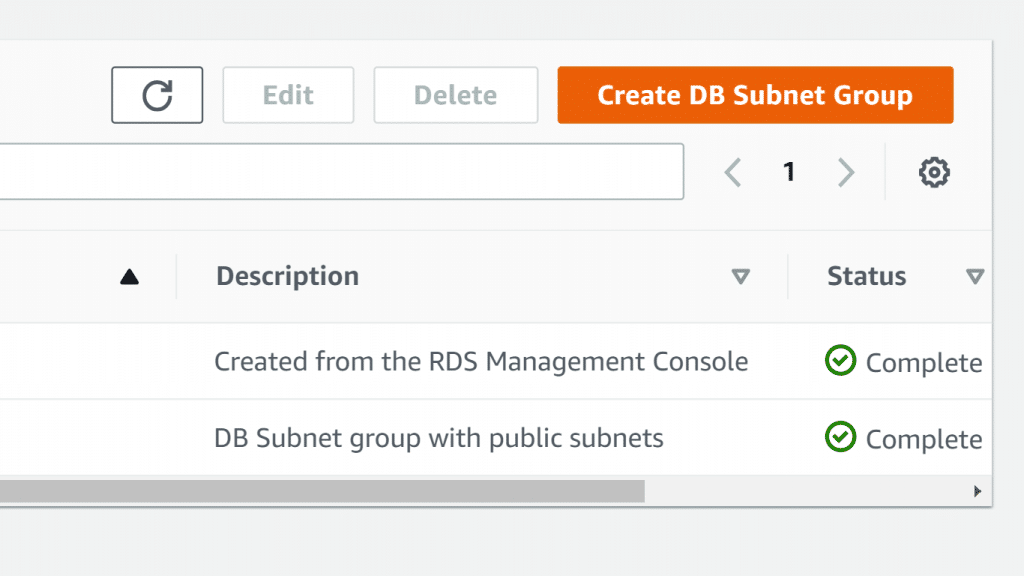
AWS Neptune Subnet Group – Create DB Subnet Group
- Click on Create DB Subnet group.

You will find that the page for creating an AWS Neptune Subnet Group will now open, Create DB Subnet group.

AWS Neptune Subnet Group – Subnet Group Details
4. For Name box, fill in the new DB subnet group’s name.
5. For Description box, describe your new DB Subnet group.
6. From the VPC list, select a VPC identifier for the subnets of the new DB Subnet group.
7. For the Add Subnets section, you can either choose to add all the available subnets related to the previously chosen VPC, or select the required subnets one by one according to their availability zones.

AWS Neptune Subnet Group – Add Subnets
At the bottom of the page, you will see a table showing the list of chosen subnets for your group. You need to have added at least 2 subnets. You will be able to make changes as required even after the group gets created.
8. Click on Create.
How to edit an AWS Neptune Subnet Group?
- Login to the Management Console, then head to the Neptune console using the following link https://console.aws.amazon.com/neptune/home.
AWS Neptune Subnet Group – Neptune Console Subnet Group Section
2. Click on the section for Subnet groups from the Neptune navigation pane on the left.

3. Select the Name link for the DB Subnet group that you want to edit.

AWS Neptune Subnet Group – Subnet Group Name Link
You can optionally select Create Subnet group for creating a cluster Subnet group. After that, you click on the new subnet group’s Name.
- When you click on the name link, you can choose to add tags to your subnet group.

AWS Neptune Subnet Group – Subnet Group Name Tags
- Click on the Add button located at the top right of the Tags
You will get a popup screen asking you to fill in the necessary info for your new tag.

AWS Neptune Subnet Group – Subnet Group Name Add Tags
- In the tag Key dialog box, enter a name for you tag.
- In the Value dialog box, enter a value for your tag.
- Click on Add.
You can add multiple tags by clicking on the Add another Tag button and filling the required fields. To learn more about tags, check the AWS Tagging guidelines.
What is the AWS::Neptune::DBSubnetGroup?
This specific type allows you to create an AWS Neptune Subnet group.
Every AWS Neptune Subnet group should have:
– Minimum of 2 subnets
– 2 Different Availability Zones
– 1 same AWS Region
How is its Syntax?
The JSON type:
{

"Type" : "AWS::Neptune::DBSubnetGroup",

"Properties" : {

"DBSubnetGroupDescription" : String,

"DBSubnetGroupName" : String,

"SubnetIds" : [ String, ... ],

"Tags" : [ Tag, ... ]

}

}
The YAML type:
Type: AWS::Neptune::DBSubnetGroup
Properties:
DBSubnetGroupDescription: String
DBSubnetGroupName: String
SubnetIds:
– String
Tags:
– Tag
What are its Properties?
DBSubnetGroupDescription
Describes DB subnet group.
It is required.
It is of type String.
Its Update needs No interruption.
DBSubnetGroupName
Name of DB subnet group.
It is not required.
It is of type String.
Its Update needs Replacement.
SubnetIds
EC2 subnet IDs.
It is required.
It is of type List of String.
Its Update needs No interruption.
Tags
Attached to DB subnet group.
Not required.
It is of type List of Tag.
Its Update needs No interruption.
What are its Return values?
Ref
Upon passing logical ID of the required resource to the Ref function, the Ref will return the name of this resource.
Ref function will return the needed resource or parameter’s value.
- Parameter’s logical name: Parameter’s value will be returned.
- Resource’s logical name: Resource’s reference value will be returned (physical ID, etc..).
Keep a Hint
Ref may also be used for the sake of adding some values to your Output messages.
How is Ref’s Declaration?
The JSON type:
{ “Ref” : “logicalName” }
The YAML type:
Full function name:
Ref: logicalName
Short form:
!Ref logicalName
What are Ref’s Parameters?
logicalName
Dereferenced parameter or resource’s logical name.
What is Ref’s Return value?
For resource: physical ID.
For parameter: the value.
Simple Example:
Elastic IP address’s resource declaration requires: Instance ID of an EC2 instance
It refers to the Ref function for the sake of setting MyEC2Instance resource’s Instance ID.
The JSON Type:
"MyEIP" : {

"Type" : "AWS::EC2::EIP",

"Properties" : {

"InstanceId" : { "Ref" : "MyEC2Instance" }

}

}
The YAML Type:
MyEIP:
Type: "AWS::EC2::EIP"
Properties:
InstanceId: !Ref MyEC2Instance
What are Ref's Supported functions?
A string needs to be written as a resource logical ID.
The Ref function cannot take any functions.