AWS Chatbot: Configure a New Client
AWS Chatbot may get utilize for the sake of experimenting with ChatOps across multiple AWS regions. You just have to configure a new client to get started.
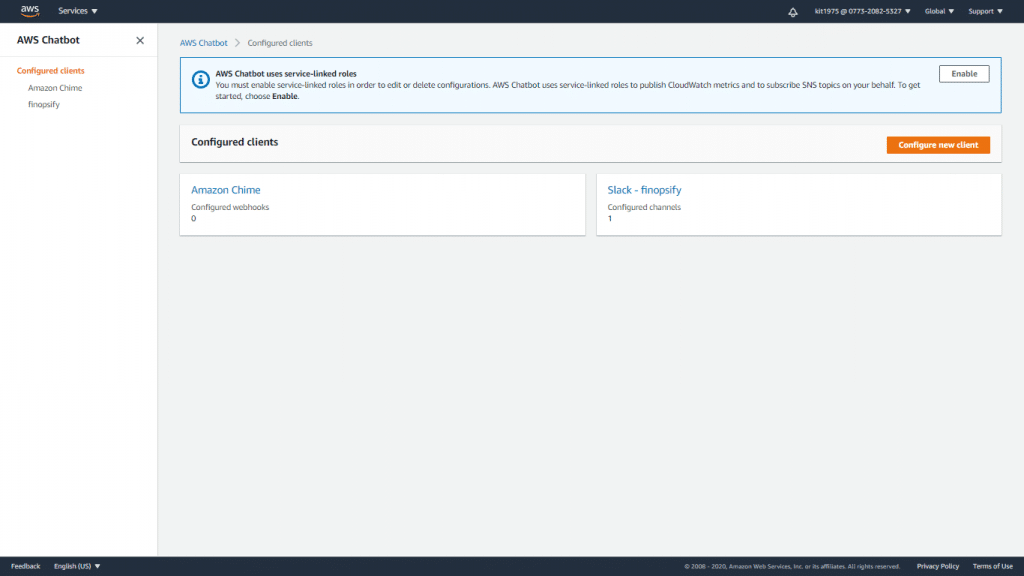
It may get you connected to your Chime chatrooms as well as your Slack channels in merely a couple of minutes. You just have to go straight to the AWS Chatbot Console, pick your Chat client, then click on the option Configure client to begin:

Configure a New Client – AWS Chatbot
As part of the configure a new client process, you will have the opportunity to either pick an already existing IAM role or to begin with creating another new one from given templates. This selected role is going to grant AWS Chatbot with the required permissions to access CloudWatch metrics, as well as the ability to start running commands, responding to notification actions, invoking Lambda functions, and also generating support cases:

Configure a New Client – Policy Templates
AWS Chatbot will listen on SNS topics for the sake of learning about events and alarm notifications in every associated region:

Configure a New Client – Notifications
It is also possible for you to start setting up CloudWatch Alarms in whichever region that you use for choosing a topic, then utilize them for the sake of sending notifications to AWS Chatbot.
Keep in Mind
You are capable of utilizing the AWS Chatbot right now for no extra charge. You only need to pay for added services like CloudWatch, or SNS, just like in the case that you are working with them outside AWS Chatbot. Also, you will have to pay whatever charges that are accompanied with your usage of your chat client.
How to set up AWS Chatbot with Slack and configure a new client?
In order to grant AWS Chatbot the ability to send notifications to your Slack channel, AWS Chatbot needs to be configured with Slack. Owners of Slack workspaces are capable of approving to the utilization of the AWS Chatbot, where all workspace users have the ability to configure the workspace for receiving notifications or running commands.
In order for you to configure a new client, you will need to follow the below steps:
- Go straight to the AWS Chatbot console using the following link https://console.aws.amazon.com/chatbot/.
Configure a New Client – AWS Chatbot configure new client
- For the section of Configure a chat client, click on the option Slack, then click on Configure client.

Configure a New Client – configure slack chat client
- Using the upper dropdown list, select which Slack workspace you’d like to utilize with AWS Chatbot.


You can set up an endless number of workspaces for AWS Chatbot, but they should be set up one by one.
- Click on the option Allow.
- From the page of Workspace details, either select to carry on using the console or using a CloudFormation template:
- For the sake of utilizing a CloudFormation template, you will have to copy and paste the Workspace ID which is located below Workspace details.
- For the sake of carrying on using the console, click on the option Configure new channel.
- For the section of Configuration details, fill in a particular name to give to your configuration. It needs to be unique and not used across your account. It may not get edited in after being created
- In case you’d like to enable logging for this configuration, click on the option Publish logs to Amazon CloudWatch Logs.
Keep in mind
When you use CloudWatch Logs, you are going to get charged an extra amount of money.
- In the section of Slack channel, select which channel you’d like to use.
Keep in mind
You are capable of utilizing private Slack channels when working with AWS Chatbot. If you want that, click on the option Private channel. In Slack, start off by copying the Channel ID of your private channel through clicking the right-mouse-button on the channel name from the left pane. Then, select Copy Link.
Channel ID: string found at the URL’s ending such as the following: AB3BBLZZ8YY.
In AWS Chatbot, finish by pasting the ID inside the field titled Channel URL.
This is how you can configure a new client to be a private slack channel.
- Set the IAM permissions used by the chatbot in order to message your Slack chat room:
- In the section of IAM role, click on the option Create an IAM role using a template. In case you’d like to utilize an already existing role, click on the option Use an existing role. For the sake of using an already existing IAM role, it must be modified for being used with AWS Chatbot.
- In the section of Role name, fill in a specific name. It’s accepted characters are as follows: A-Z, a-z, 0-9, .\w+=,.@-_.
- In the section of Policy templates, click on the option Notification permissions. It’s the AWS Chatbot’s IAM policy template, which grants the required Read and List permissions for CloudWatch logs, events and alarms, as well as for SNS topics.
- Select which SNS topics you want for sending notifications to the Slack channel.
- . In the section of SNS Region, select which AWS Region that you want for hosting the SNS topics for this specific AWS Chatbot subscription.
- In the section of SNS topic, select which Amazon SNS topic you want for the client subscription. The selected topics will specify what content will be sent to the Slack channel. In case the region includes extra SNS topics, you may select them from the same dropdown list.
- For adding an SNS topic from a different AWS Region to the notification subscription, click on the option Add another Region.
- Finally, to configure a new client, simply click on Configure.
From this moment, any notifications coming from supported services publishing to the selected SNS topics are going to show in the Slack channel.
An infinite number of channels can be configured, having as much topics as required.
Keep in mind
In case you choose to configure a new client as a private Slack channel, you will need to run the /invite @AWS command in Slack for the sake of inviting the AWS Chatbot to the chat room.
After you configure a new client, your selected SNS topics need to be configured in the services for which you want to receive notifications.
This is how easy and swift it is for you to configure a new client using the AWS Chatbot console.
After you configure a new client, you can go forward with receiving notifications of your choice.