Setting up AWS Billing Alarms
AWS offers its new user something called the Free Tier, which does not charge them for their usage. Yet, whenever they begin with exceeding this free tier usage, they will start getting charged for the services that they use. At this time, it would be best to start setting up their AWS Billing Alarms. By doing so, they will receive an email stating that their bill has reached a specific amount.
Step 1: How to enable estimated charges monitoring for AWS Billing Alarms?
- Head straight to the Billing and Cost Management console using the following link https://console.aws.amazon.com/billing/.
- From navigation pane, click on the option Billing Preferences.
- Click on the option Receive Billing Alerts.
- Click on the option Save preferences.
Step 2: How to Set AWS Billing Alarms?
- Log in to the AWS Console.
- After that, type in the search box for CloudWatch, and click on it. This page should show up:
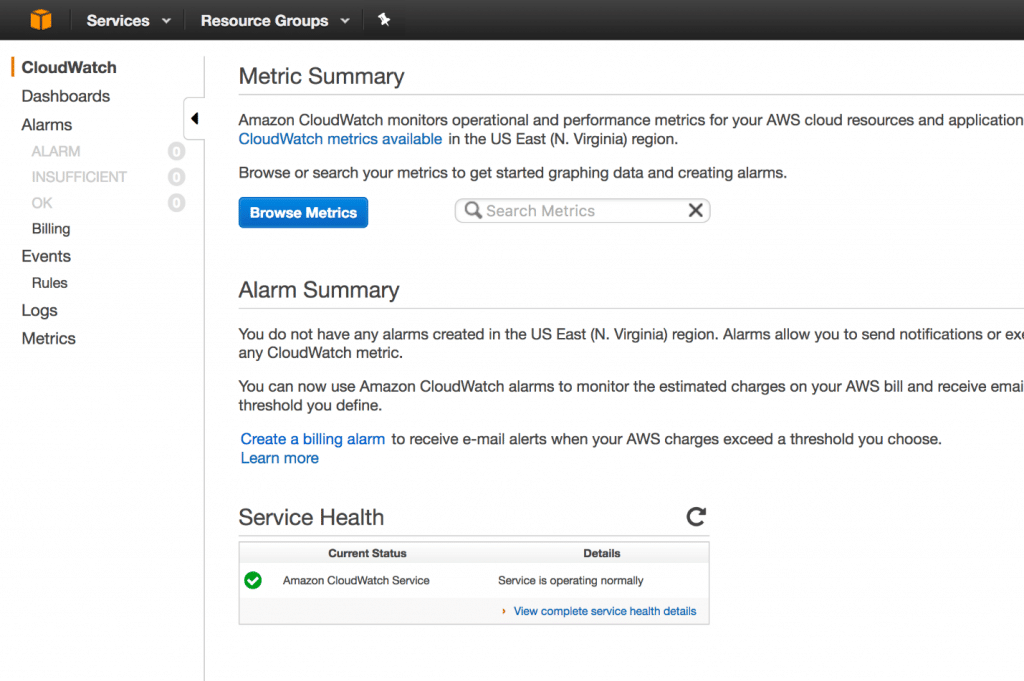
AWS Billing Alarms – CloudWatch Page
- Choose Billing from the left navigation panel.
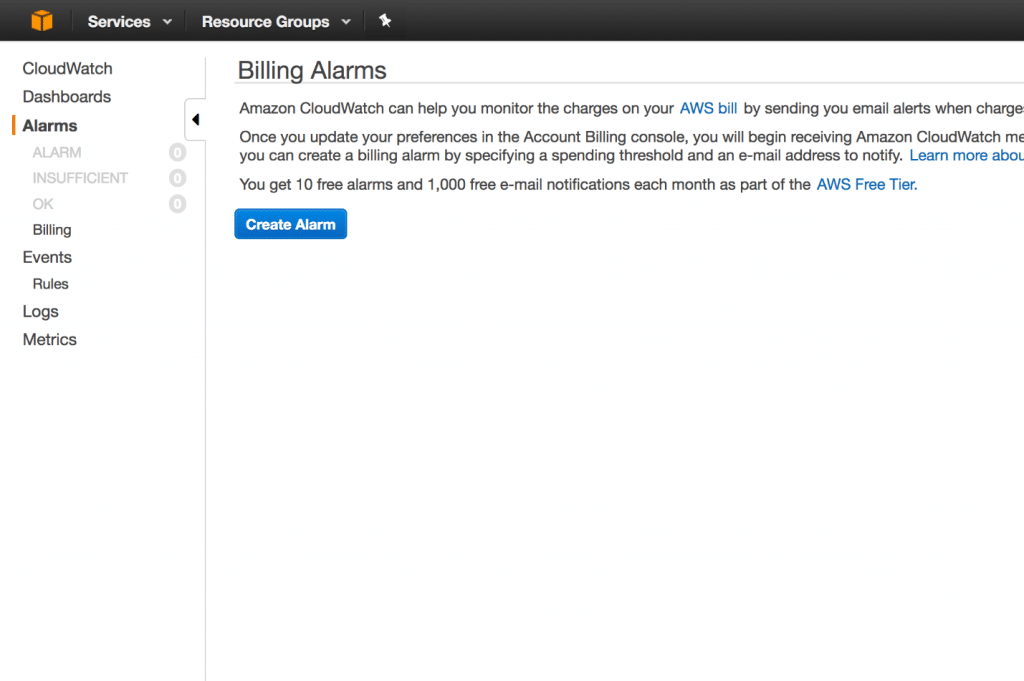
AWS Billing Alarms – Billing Alarms
- From navigation pane, click on the option Alarms, Create Alarm.
- A form is going to be opened. There, you will get the chance to specify your required threshold, and also the email address which you would like to get notified on.
- Now, we need to specify the amount of money. The image below shows that $5 is set as the threshold.
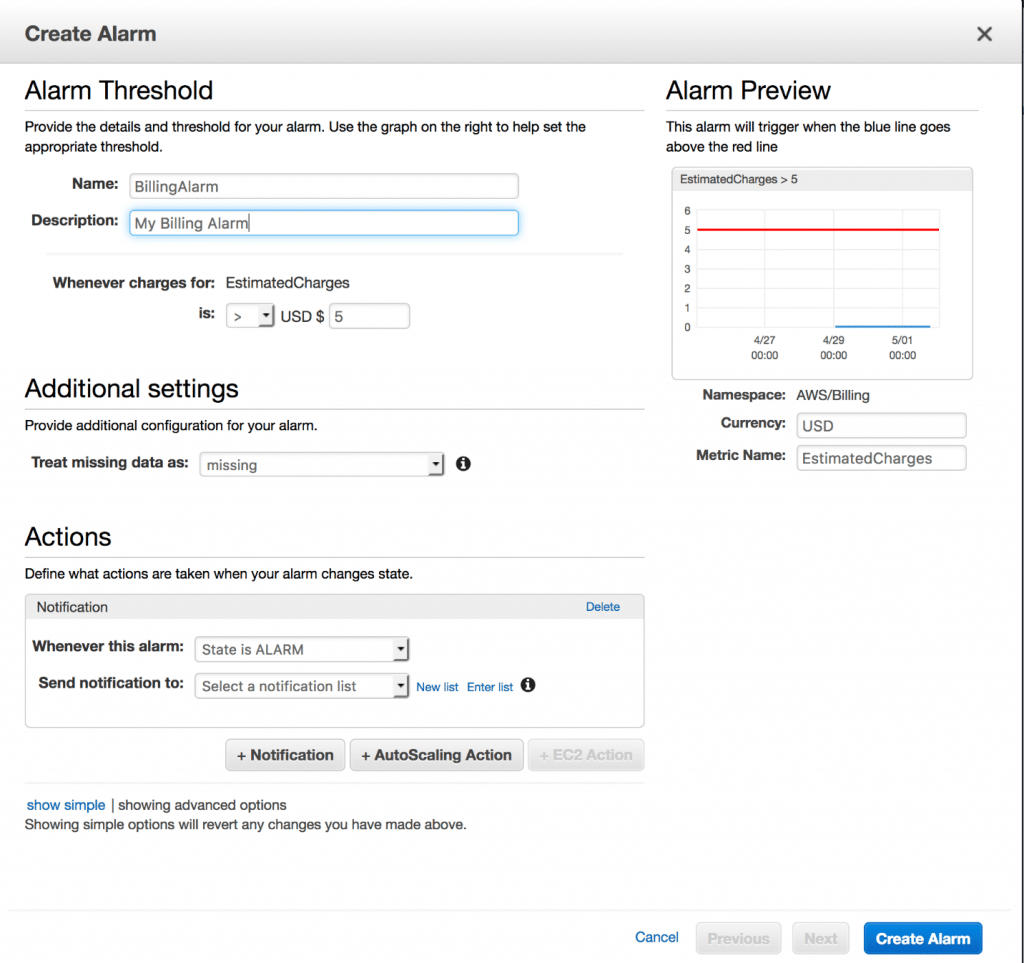
AWS Billing Alarms – Create Alarm
- After that, from the exact screen, we need to specify the notification. For the section of Actions, select the option of New List.
- Click on the option Click on metric. From the tab named All metrics, click on the option Billing, Total Estimated Charge.
- Click on the check box beside EstimatedCharges, then click on the option Click on metric.
- For the section of Conditions, click on the option Static.
- In the section of Whenever EstimatedCharges is, click on the option Greater.
- In the section of than, type in the monthly amount to spend such as the entered 5$ in the screen shot.
- When you see the text field appear, type in your email. Then, select Create Alarm.
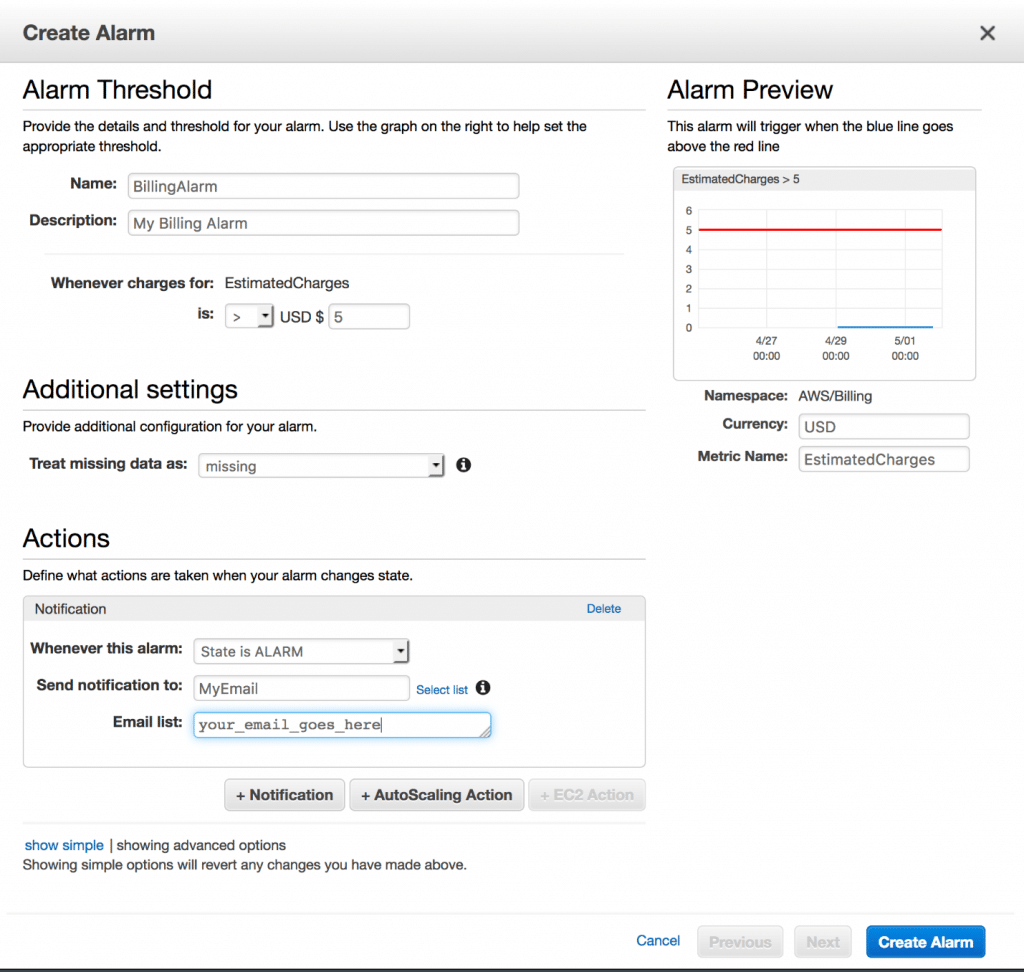
AWS Billing Alarms – Enter Email
- After that, a popup will be displayed asking you to confirm the entered email address.
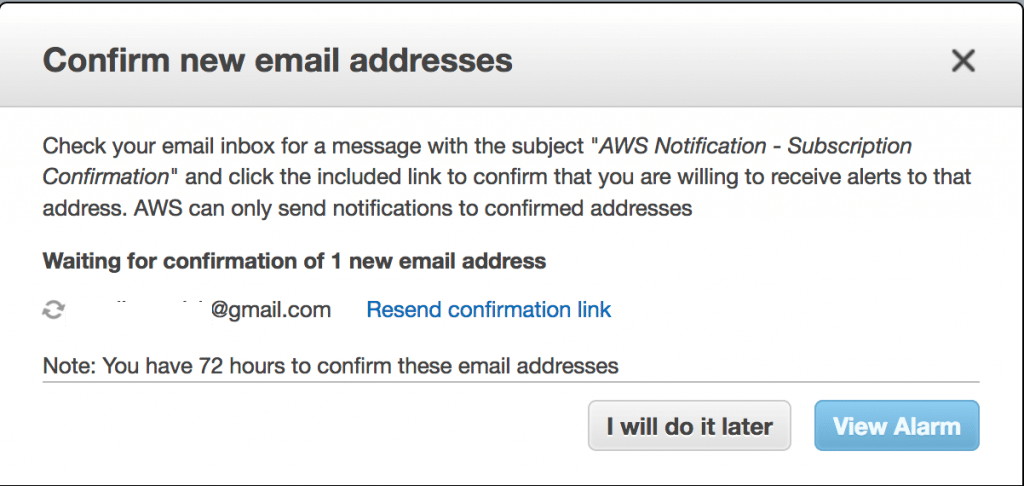
AWS Billing Alarms – Confirm Email
- Search for the confirmation email from your email inbox, then click on the subscription confirmation link. You will see a popup similar to the one below:
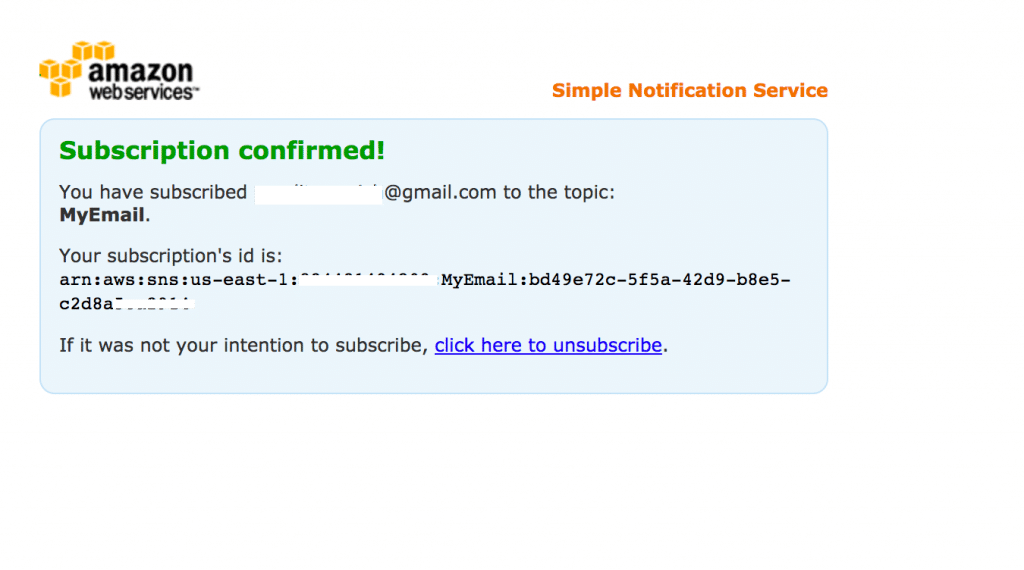
AWS Billing Alarms – Subscription Confirmed
- Click on the option of View Alarm, a page showing the new alarm created will open. At first, you will find that the Alarm State will show as INSUFFICIENT_DATA, because it was recently started, and CloudWatch would have to get some data for this metric in order to set the right state.
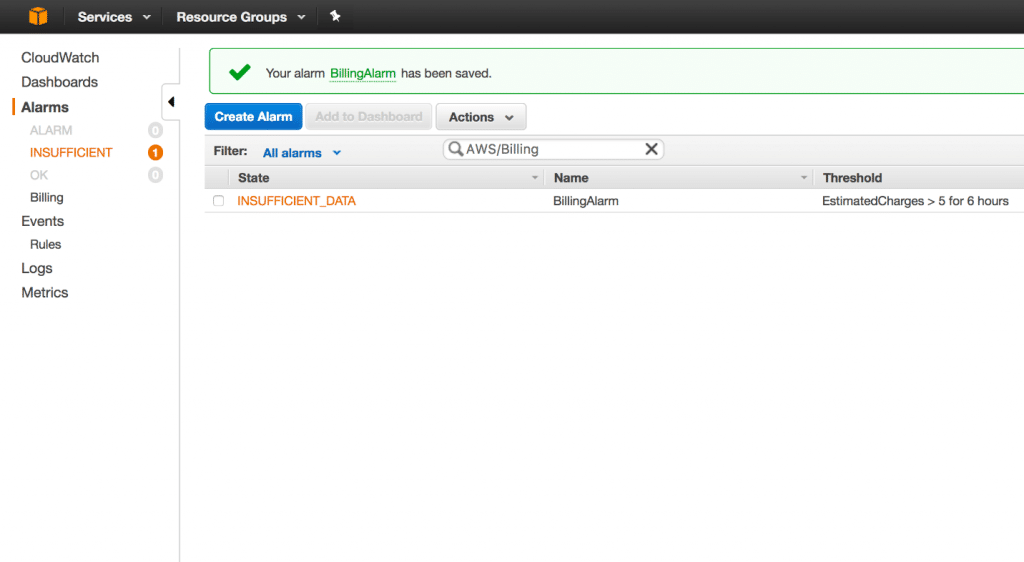
AWS Billing Alarms – Insufficient


After a couple of minutes, refresh the page, and the alarm will show as OK state.

AWS Billing Alarms – OK State
In the case that the billing goes above the set threshold, the alarm state will turn to ALARM. At that point, a notification is going to get triggered. The state stays as ALARM till a value which is below the threshold is reached.
Be aware of your AWS account charges, to prevent any possible misfortunes and surprises. Some people have been through runaway lambdas, and some high costing instance types accidentally running for weeks without noticing. Prevent the problem of getting expensive AWS Billing from even happening by setting your AWS Billing Alarms today!
Step 3: How to Delete AWS Billing Alarms?
When AWS Billing alarms are not needed anymore, it’s time for you to learn how to delete them.
For deleting one of your AWS Billing Alarms, follow the below simple procedure:
- Head straight to the CloudWatch console using the following link https://console.aws.amazon.com/cloudwatch/.
- In case it’s needed, set the Region as US East (N. Virginia). You will find in this region the billing metric data of worldwide charges.
- From navigation pane, click on the option Alarms.
- Click on the check box beside the alarm. Then, click on the option Actions, Delete.
- Upon being asked for confirmation, click on the option Yes, Delete.