Create an Organization
What is Consolidated billing for Organizations?
In AWS Organizations, you have the chance to utilize the consolidated billing feature for consolidating billings and payments for various accounts or various AISPL accounts. Each organization contains a management account which is capable of paying the charges incurred from every single member account.
Consolidated billing includes the below benefits:
- Only One bill: You will have one bill as a combination for the bills of multiple accounts.
- No additional fee: It is provided for no extra cost.
- Combined usage: It is possible to get the usage across all accounts in the organization combined for the sake of sharing the following: Volume pricing discounts, Savings Plans, as well as the Reserved Instance discounts. As a result, you will get charged a lower charge for your company, project, or department, than that you get charged for with individual standalone accounts.
- Simple tracking: Charges may be tracked across multiple accounts, then it is possible to get the combined data for cost and usage downloaded.
Keep in mind
The bills of the member account are used merely for informational purposes. The management account can reallocate the extra Savings Plans discounts. volume discounts or Reserved Instance which are received by your account.
In case you are capable of accessing the management account, you will get to view a combined display of the charges incurred by the member accounts. In addition, you will be able to receive a cost report for every single member account.
You should know that the AWS and the AISPL accounts are not capable of being consolidated with one another. In case your contact address is located in India, you are capable of utilizing AWS Organizations for the sake of consolidating AISPL accounts found in your organization.
Process to Create an AWS Organization
Keep in mind
AWS Organizations will change the name “Master Account” to “Management Account”. It will only be a name change without any functionality change.
You are capable of creating an organization which begins with your account as being the management account which was previously called the master account. When you create an AWS organization, you will be able to select if you want the organization to support every feature, which is the recommended choice, or just to support features for consolidated billing.
Keep in mind
Now, you may just get one root in your organization.
When you complete the process to create an organization, you will be capable of adding accounts to your organization using the below procedures from the management account:
- Create more AWS accounts that will be directly added to your organization as being member accounts.
- Upon verifying the email address, start inviting some existing accounts for joining your organization as being new member accounts.
Step One: Start to Create an Organization
It is possible for you to create an organization through the Management Console or a command from the CLI or an SDK API.
Minimum permissions to create an organization:
In order for you to be able to create an organization using your current account, you will need to have the below permissions:
- organizations:CreateOrganization
- iam:CreateServiceLinkedRole
You can restrict this permission may be restricted merely to the service principal of “organizations.amazonaws.com”.
How can you create an organization using the AWS Management Console?
- Sign in to the Organizations console using the following link https://console.aws.amazon.com/organizations/. You will have to sign in using an IAM user, by assuming an IAM role, or by signing in as root user in the organization’s management account.

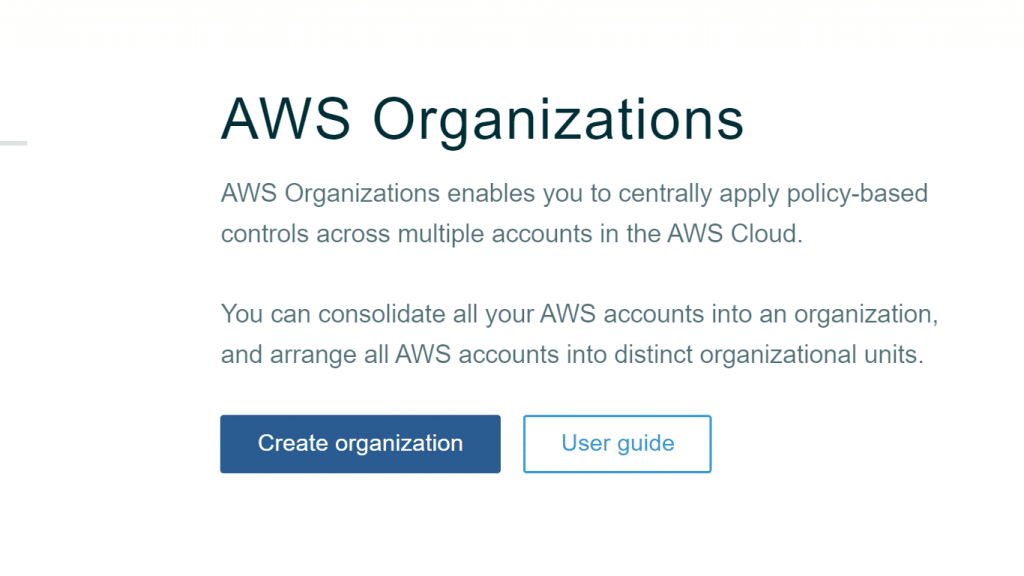
Create an Organization – Console
- From introduction page, click on Create organization.
Create an Organization – Create Organization
- In the confirmation dialog box of Create organization, click on Create organization.
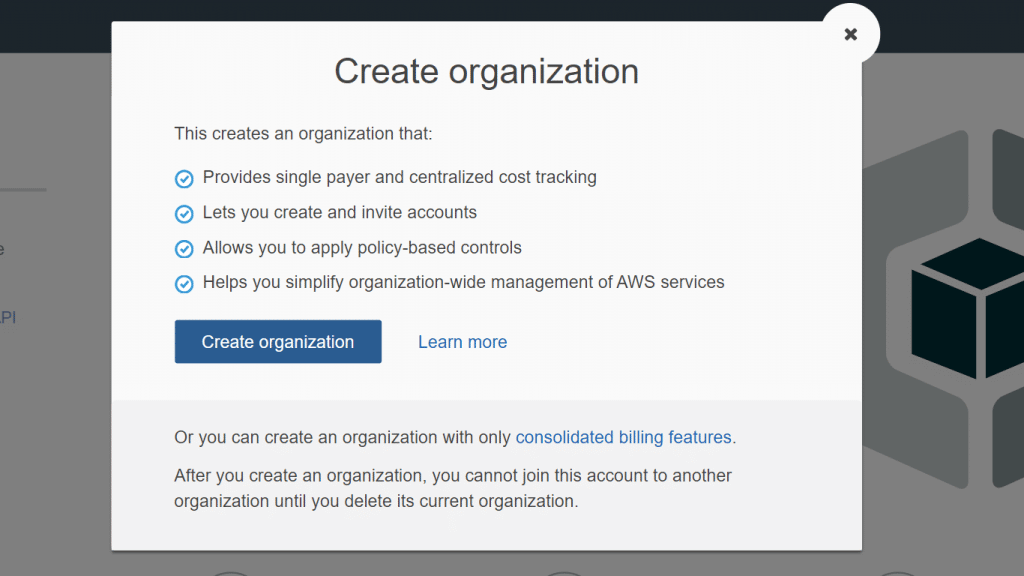
Create an Organization – Create Organization Confirmation


Keep in mind
The organization will get created having every single feature set as enabled by default. It is possible as well to get an organization created having just the consolidated billing features set as enabled.
Now, the organization has been created and you will find yourself on the Accounts tab. The management account will have a star located beside the account email.
You are going to get a verification email sent directly to the address set with your management account. Some time may pass and a delay happens prior to receiving this verification email.

Create an Organization – Verification Email
4. You will to get your email address verified within 24 hours.

Create an Organization – Verify Email
5. Get accounts added to your organization as much as you want.
Keep in mind
It is possible to get new accounts added to your organization without the need to verify the email address of your management account. In order to start inviting already existing accounts, you will need to have verified that email address before.
Step Two: Email address verification (after you create an organization)
After you finish the process to create an organization and prior to inviting accounts to join, you will need to verify that are the owner of the provided email address for the organization’s management account.
After you create an organization, AWS will send you a verification email to the email address which you have added. The verification email may be delayed.
In 24 hours, you will need to follow the instructions sent in the email for the sake of verifying your email address.
In case you fail to verify your email address during those 24 hours, you are capable of resending the verification request for inviting different accounts to join your organization. In case you fail to receive the verification email, you must check if your email address is correct then fix it if needed.
How can you resend the verification request after you create an organization?
- Sign in to AWS Organizations console using the following link https://console.aws.amazon.com/organizations/. You will first need to be signed in as an IAM user, or have assumed an IAM role, or have signed in as the root user in the organization’s management account.
- Click on the Settings tab then click Send verification request.
- You will need to get your email address verified within 24 hours.
Upon verifying the email address, you will be able to start inviting different accounts to your organization.
In case of changing the management account’s email address, the account’s status will go back to being “email unverified,” and you will need to finish the verification process for the newly added email address.