AWS Account Information
Edit AWS Account Information: Name, root user password, and root user email address
To edit your AWS Account Information name, root user password, or root user email address, follow the below steps:
- Login to the AWS Management Console. Then, head straight to the Billing and Cost Management console using the following link https://console.aws.amazon.com/billing/.
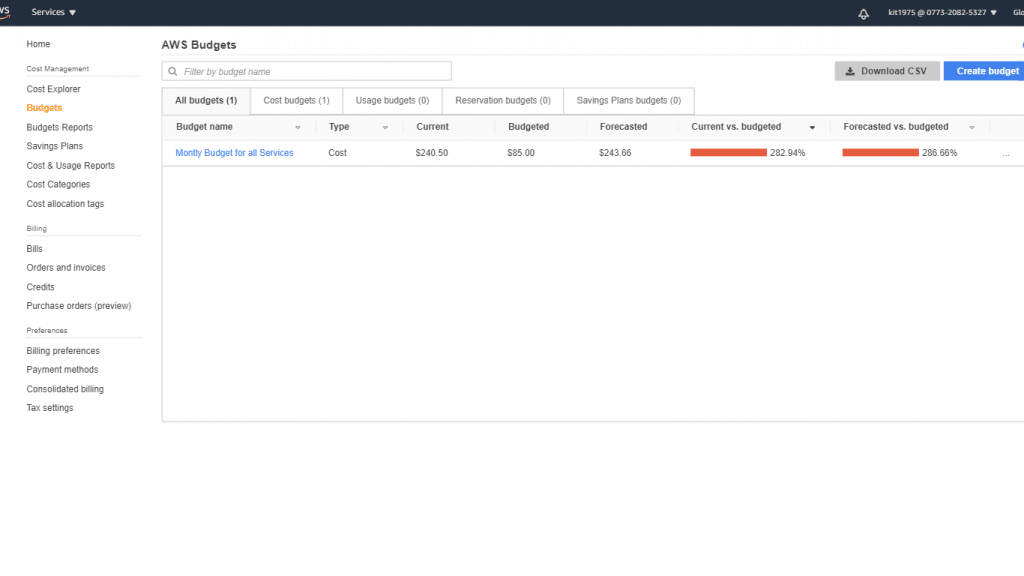
AWS Account Information – Billing and Cost Management Console
- From navigation bar, click on your account name. Then, click on My Account.
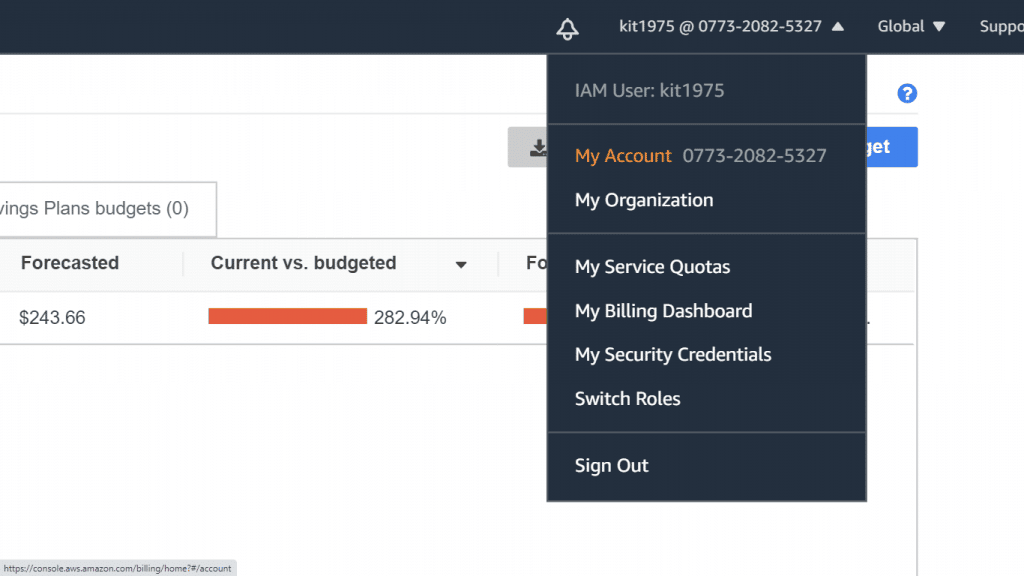
AWS Account Information – My Account
- From Account Settings page, click on Edit.
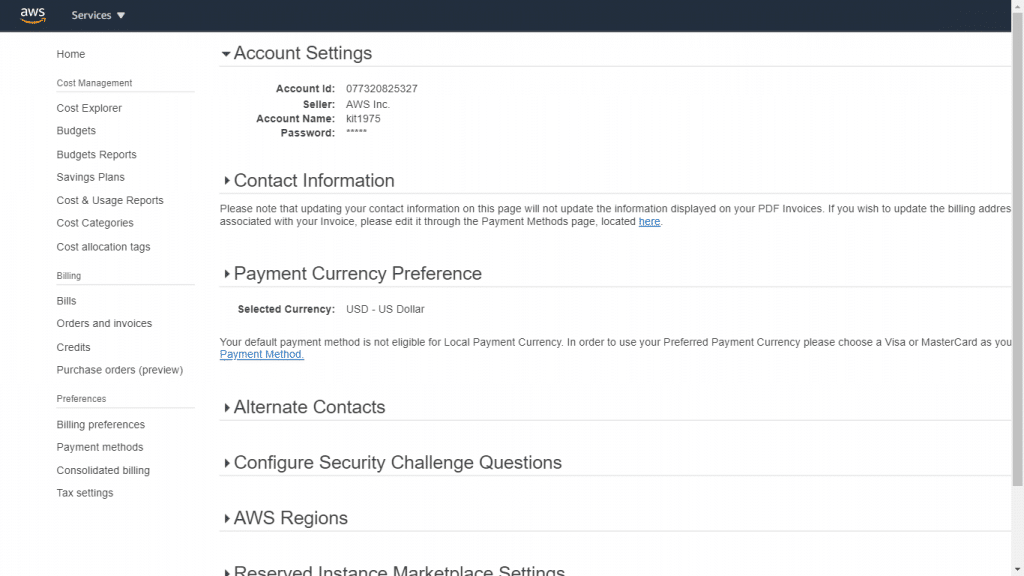
AWS Account Information – Account Settings
- Beside the required field for updating, click on Edit.
- Upon filling in all required changes, click on Save changes.
- When you finish, click on Done.


Edit AWS Account Information: Contact information
You can change the contact information associated with your AWS Account Information, including your mailing address, telephone number, and website address.
To edit your contact information
- Login to the AWS Management Console. Then, head straight to the Billing and Cost Management console using the following link https://console.aws.amazon.com/billing/.
- From navigation bar, click on your account name. Then, click on My Account.
- Below the section Contact Information, click on Edit.

AWS Account Information – Contact Information
- For the required fields for you to start changing, fill in your new information. Then, click on Update.
Change AWS Account Information: Currency for paying bill
To change the local currency of your account, go over the below steps.
- Login to the AWS Management Console. Then, go to the Billing and Cost Management console using the following link https://console.aws.amazon.com/billing/.
- From navigation bar, click on your account name. Then, click on My Account.
- Go down till you reach the Payment Currency Preference Beside the section Payment Currency Preference, click on Edit.
- In Select Payment Currency, pick which currency you want to pay your bill in. Then, click on Update.
To learn more about billing reports, you can check the article about how AWS Billing Reports are Unpredictable.
Edit AWS Account Information: Adding, changing, or removing alternate contacts
For adding, updating, or removing alternate contacts, follow the below steps.
- Login to the AWS Management Console. Then, head straight to the Billing and Cost Management console using the following link https://console.aws.amazon.com/billing/.
- From navigation bar, click on your account name. Then, click on My Account.
- Head down till you reach the Alternate Contacts section, then click on Edit.

AWS Account Information – Alternate Contacts
- Fill in your updated information into the fields you want to change, then click on Update.
Edit AWS Account Information: Enable and Disable regions
You must keep in mind the below information regarding the subject of enabling and disabling Regions:
– IAM permissions may be utilized to control access to Regions
– It’s free to enable a Region
– When a Region is disabled, access to its resources is also disabled
– Charges won’t stop upon disabling a Region
– The disabling of Region won’t directly be visible at times
– By default, existing Regions will be enabled
– A Region needs a couple of minutes to get enabled for some of the accounts
To enable a Region, go over the below steps.
- Login to the AWS Management Console. Then, go to the Billing and Cost Management console using the following link https://console.aws.amazon.com/billing/.
- From navigation bar, click on your account name. Then, click on My Account.
- For AWS Regions, look beside the Region for enabling and click on Enable.
By default, the Older Regions will be enabled.
- Inside the dialog box, click on Enable region.
For disabling a Region, go over the below steps.
It is possible to disable a couple of Regions from your My Account page.
- Login to the AWS Management Console. Then, go to the Billing and Cost Management console using the following link https://console.aws.amazon.com/billing/.
- From the navigation bar, click on your account name. Then, click on My Account.
- Below AWS Regions, look beside the Region for disabling then click on Disable.
Only a number of Regions are capable of being disabled and not all of them.
- Inside the dialog box, for the section “To confirm disabling in this region”, type in “disable”. Then, click on Disable region.
Edit AWS Account Information: Updating and deleting tax registration numbers
For updating tax registration numbers, follow the below sections.
- Login to the AWS Management Console. Then, head straight to the Billing and Cost Management console using the following link https://console.aws.amazon.com/billing/.
- From the navigation pane, click on Tax Settings.
- Below Manage Tax Registration Numbers, pick which numbers you need for editing.
- In the section Manage Tax Registration, click on Edit.
- Make the necessary changes for the required fields, then click on Update.
To delete tax registration numbers, follow the below steps.
It is possible to get one or a number of tax registration numbers removed.
- Login to the AWS Management Console. Then, head straight to the Billing and Cost Management console using the following link https://console.aws.amazon.com/billing/.
- In the navigation pane, click on Tax Settings.
- Below Manage Tax Registration Numbers, pick which tax registration numbers you want to delete.
- In the section Manage Tax Registration, click on Delete.
- Inside the Delete tax registration dialog box, click on Delete.
Enabling tax setting inheritance
It is possible to utilize your tax registration info with your linked accounts through simply getting your Tax Settings Inheritance enabled.
For enabling tax setting inheritance, follow the below steps.
- Login to the AWS Management Console. Then, head straight to the Billing and Cost Management console using the following link https://console.aws.amazon.com/billing/.
- In the navigation pane, click on Tax Settings.
- Below Manage Tax Registration Numbers, choose Enable Tax Settings Inheritance.
- Click on Continue.