AWS CloudTrail Create Trail
There are a couple of limitations that accompany the view of events that show recent activity through the CloudTrail console and some of which include:
– Can only view according to recent activity
– Not every event which is capable of being recorded through CloudTrail may be viewed
– Limited view of events to the Region of sign in
You will need to create a trail in order to be able to create continuous recordings of activity while having information for every single Region.
It is recommended that the first trail must be one which logs every management event in every single Region, without logging data events.
Management event examples:
– Security events: IAM CreateUser – AttachRolePolicy
– Resource events: RunInstances – CreateBucket
First off, you must go ahead and create an S3 bucket for the sake of storing your log files there for the trail, which will be a way of creating the trail in CloudTrail console.
Important for you to know:
In the following tutorial, you are going to learn how to create your very first trail. According to what number of trails found in your account, and the way they get configured, the upcoming steps may possibly incur some expenses. Also, CloudTrail is going to store your log files in one of your chosen S3 buckets.
- Login to your Management Console through your configured IAM user for CloudTrail administration. Then, go to the CloudTrail console through the following link https://console.aws.amazon.com/cloudtrail/home/. From Region selector, select the Region where you’d like to create your trail. It’s going to be Home Region for the trail.
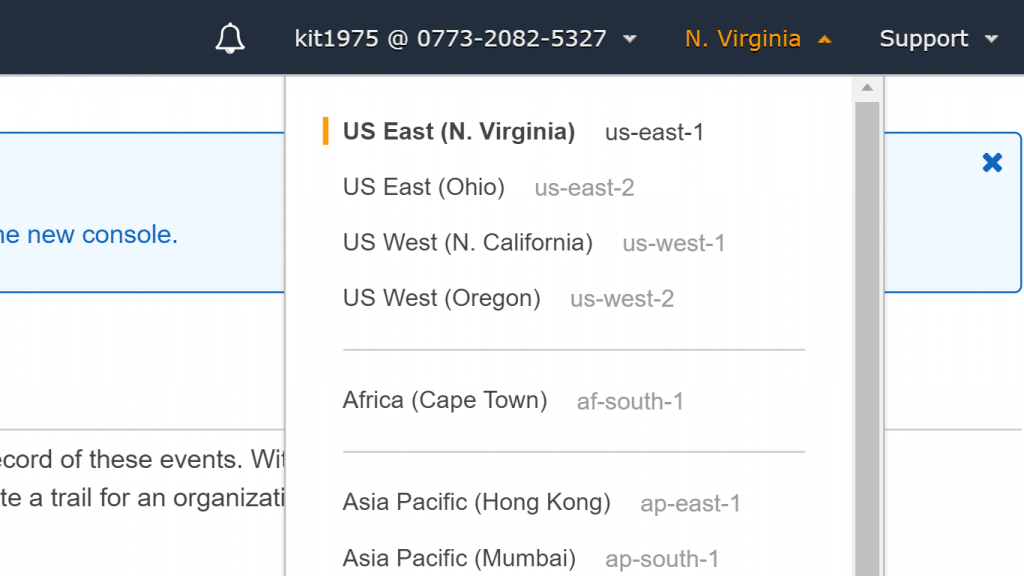
AWS CloudTrail Create Trail – Trail Region Selector
Keep in mind:
Home Region: only possible Region for viewing and updating your trail upon its creation, regardless of whether this trail is going to log events in every single Region.
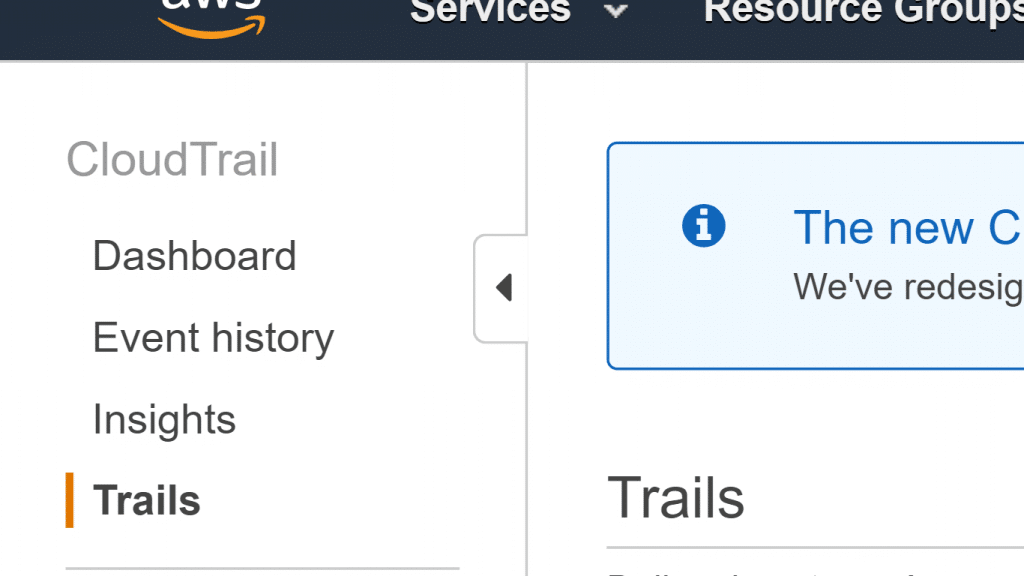
AWS CloudTrail Create Trail – Select Trails
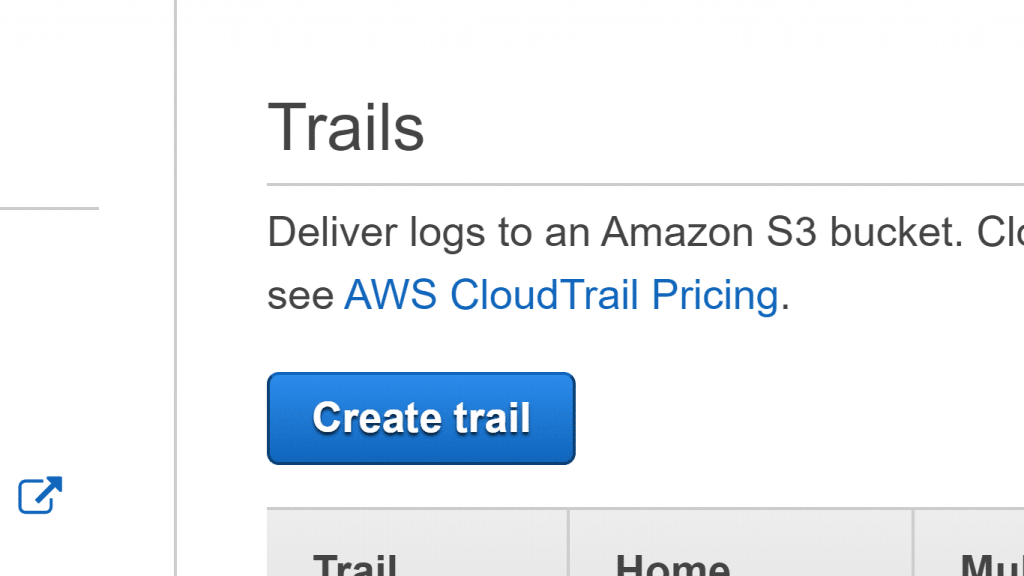
AWS CloudTrail Create Trail – Click on Create Trail Button
- From under navigation pane, click on Trails. From Trails page, select the option Get Started Now. In case of not noticing such an option, click on Create Trail.
- For the section Trail name, type in a name for the trail. It is better to choose a name which lets you directly understand the reason behind the creation of this trail.

AWS CloudTrail Create Trail – Enter a Trail Name
- For Management Events, specify the Read/Write events as All. Do not change the Yes default value, as your Log AWS KMS events
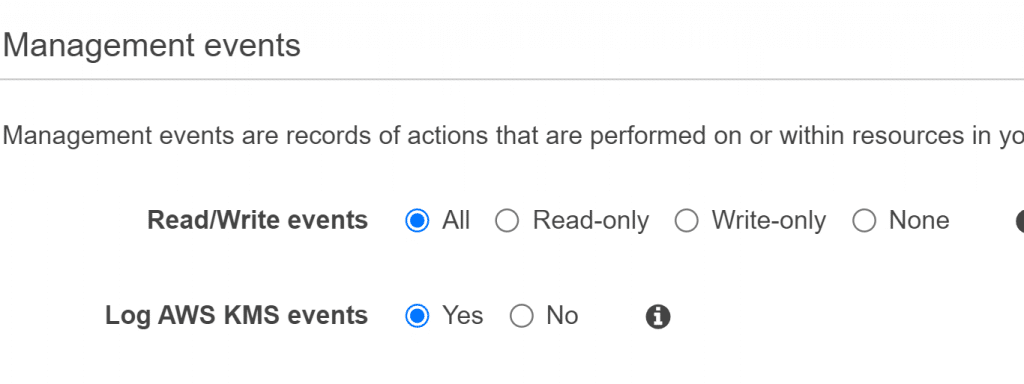
AWS CloudTrail Create Trail – Set Management Events
- For Data Events, don’t change anything, because we don’t need our trail to log data events.
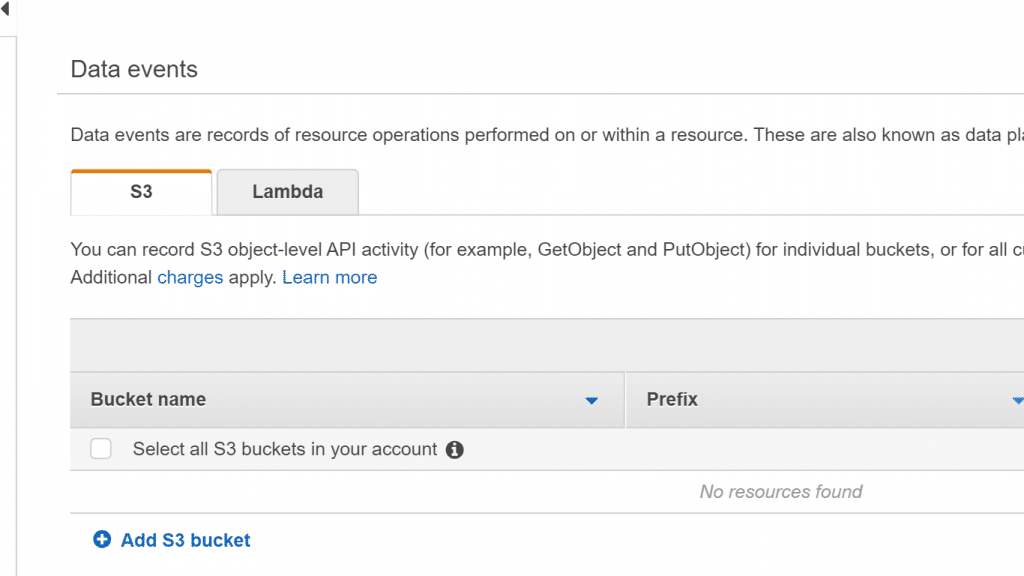
AWS CloudTrail Create Trail – Set Data Events
- As for Storage Location, when you go to the Create a new S3 bucket, click on Yes. Now, when you get to S3 bucket, specify a name for your bucket.
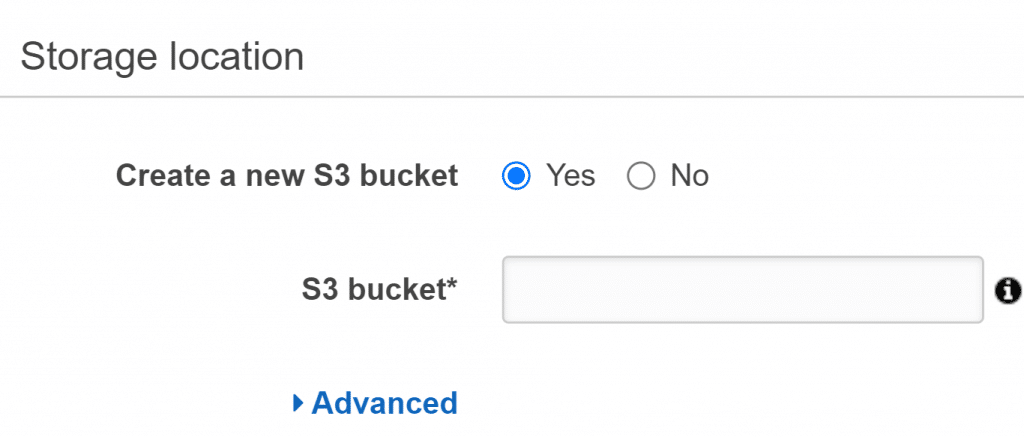
AWS CloudTrail Create Trail – Set Storage Location
Keep in mind always:
Choose a globally unique S3 bucket name.
- For the section Tags, supply custom tags to the trail created, for they are capable of aiding you in finding your required CloudTrail trails along with multiple resources, like S3 buckets having CloudTrail log files.
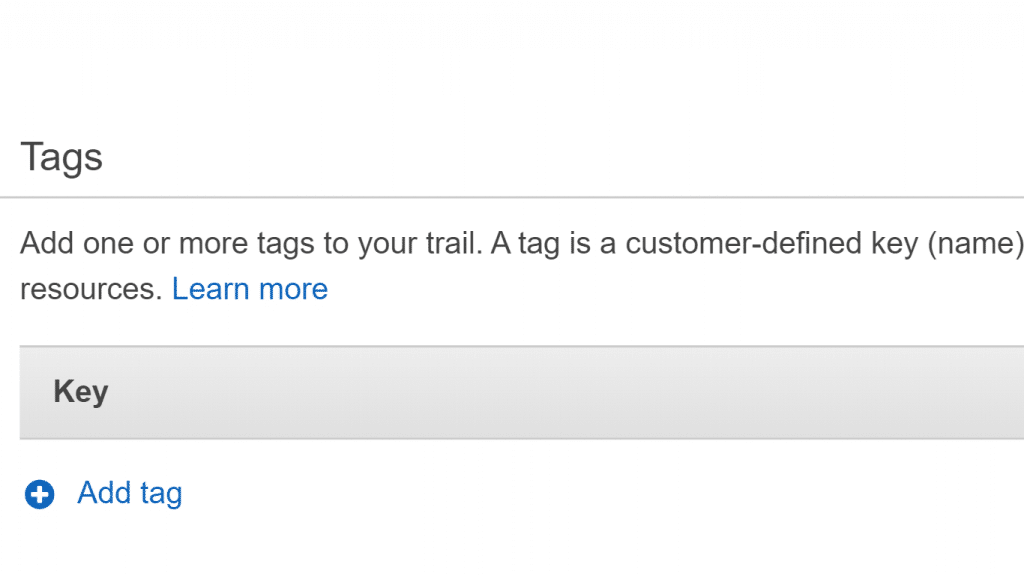
AWS CloudTrail Create Trail – Add Tags
Important notes
– It’s possible to add tags to trails created in the CloudTrail console
– It’s possible to create an S3 bucket for storing log files in CloudTrail console
– It’s not possible to add tags to an S3 bucket through CloudTrail console
- Click on Create.
Viewing Log Files
After fifteen minutes of the creation of 1st trail, the first set of log files will be delivered to the S3 bucket for this trail. It’s possible to check out these files and find out what data they hold.
- From navigation pane, click Trails., then from the the Trails page, discover the name of your newly created trail.
Important to know:
Check that you’re signed into your configured IAM user for CloudTrail administration, or you wouldn’t get enough permissions for being able to view trails in CloudTrail console or the S3 bucket which has this trail’s log files.
- From the row accompanied with this trail, look for the value of S3 bucket, and click on it.
- At the highest level of log files, this bucket will be opened and shown by the S3 console. Since we have attempted to create a trail which logs events in every Region, the display will get opened at the exact level which lets you view every single Region’s folder. Click on the folder of the Region you intend to get its log files reviewed.
- Change the bucket folder structure to the following: day, month and year the year, which you wish to get the logs of activity in this Region checked. In the specific day you choose, you will find multiple files whose name begins with the account ID you possess, and then ends with “.gz” as an extension.
Example:
– Account ID: 122223333441
– File names will be as such: 122223333441_CloudTrail_us-west-2_2TutorialsEXAMPLE.json.gz.
For getting those files viewed, start by downloading them, unzipping them, and finally opening them in a JSON file viewer or just a simple text editor. “.gz” or “JSON” files can be viewed directly through specific browsers. It’s better to rely on JSON viewer, because it’s simpler for parsing the data in CloudTrail log files.
Global service events such as IAM and sign-in will get logged in a particular Region. For our example, they will be logged in the Region US West (Oregon), which corresponds to the folder us-west-2. Go all the way to this specific folder, while choosing your required day, month and year. Now as you browse through those log files, you are going to discover “ConsoleLogin” events and they are going to look somewhat like this:
{
“eventVersion”: “1.05”,
“userIdentity”: {
“type”: “IAMUser”,
“principalId”: “AKIAIOSFODNN7EXAMPLE”,
“arn”: “arn:aws:iam::123456789012:user/Ugur_Major”,
“accountId”: “122223333441”,
“userName”: “Ugur_Major”
},
“eventTime”: “2019-06-10T17:14:09Z”,
“eventSource”: “signin.amazonaws.com”,
“eventName”: “ConsoleLogin”,
“awsRegion”: “us-east-1”,
“sourceIPAddress”: “203.0.113.67”,
“userAgent”: “Mozilla/5.0 (Windows NT 10.0; Win64; x64; rv:60.0) Gecko/20100101 Firefox/60.0”,
“requestParameters”: null,
“responseElements”: {
“ConsoleLogin”: “Success”
},
“additionalEventData”: {
“LoginTo”: “https://console.aws.amazon.com/console/home?state=hashArgs%23&isauthcode=true”,
“MobileVersion”: “No”,
“MFAUsed”: “No”
},
“eventID”: “2681fc29-EXAMPLE”,
“eventType”: “AwsConsoleSignIn”,
“recipientAccountId”: “122223333441”
}
In this log file entry you will discover:
– Identity of logged in IAM user (Ugur_Major)
– Date of log in
– Time of log in
– Login success
– IP address of log in
– Operating system
– Browser software
– No use of any multi-factor authentication