AWS EC2 Dashboard
What are the available Instance Categories to launch from AWS EC2 Dashboard?
General-Purpose Category

AWS EC2 Dashboard – General Purpose Category
Best for medium and small-sized databases, business critical apps and web tier apps.
Compute Optimized Category

AWS EC2 Dashboard – Compute Optimized Category
Best used for processing batches, encoding videos, and excessive overall performance computing.
Memory Optimized Category

AWS EC2 Dashboard – Memory Optimized Category
Best for real time big data analytics, in-memory caches and high-performance databases.
Accelerated Computing Category

AWS EC2 Dashboard – Accelerated Computing Category
Best used for gaming, machine learning, and image intensive apps.
Storage Optimized Category

AWS EC2 Dashboard – Storage Optimized Category
Best used for file systems that are distributed, statistics warehousing and NoSQL databases.
Launching The AWS EC2 Dashboard
- Enter “EC2” into the search bar of the Management Console search bar.
- Select the option EC2 in order to access the EC2 Dashboard.
The EC2 can also be used as a means of launching instances directly, rather than normally doing so using scripts.
Check out what the layout of the EC2 dashboard will include:
- In the Left pane: You will find some features and tools, like saved AMIs, Key Pairs and storage volumes.
- In the Center: You will find lists of resources and the option of launching an instance.
- In the Right pane: You will find general information, like pricings and documentations. To estimate your pricing, try out our EC2 Cost Calculator.
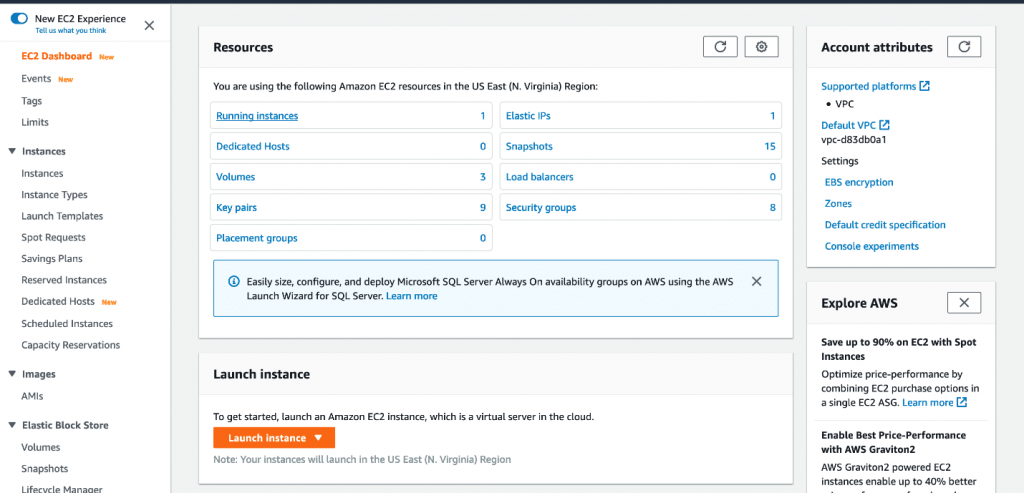
AWS EC2 Dashboard – The EC2 Dashboard
Launching an instance through AWS EC2 Dashboard
Below you will discover how to launch a Linux instance with the Management Console. This procedure is the simplest and easiest way for launching the very first instance rapidly. This means that not every single option is going to be covered in this tutorial.
How to launch an instance?
- Head to the EC2 console using the following link https://console.aws.amazon.com/ec2/.
- Click on the option Launch Instance from the dashboard.
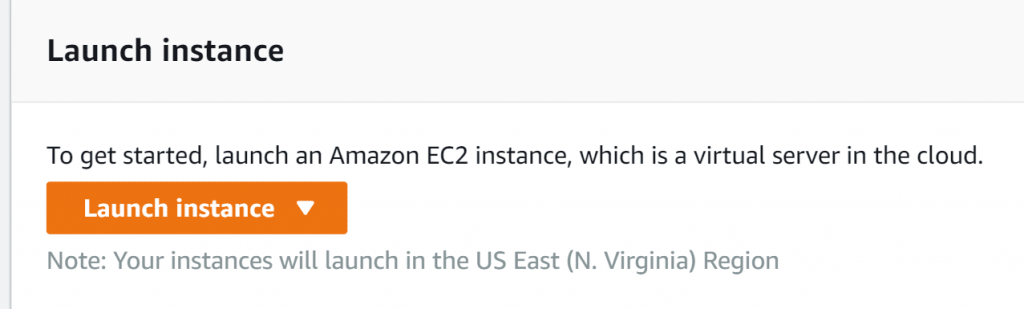
AWS EC2 Dashboard – Launch Instance Button
- From the page of Choose an Amazon Machine Image (AMI)you can find a list of basic configurations that are named Amazon Machine Images (AMIs). They are used as templates for instances. Choose a specific HVM version of Linux 2. You can see that the available AMIs are Free tier eligible.
- From the page of Choose an Instance Type, choose the hardware configuration that you want for your instance. Choose the default t2.micro type of instance. This specific type of instance is free tier eligible. t3.micro instance type can be utilized for free tier for whichever Regions where t2.micro is unavailable.
- Select the option Review and Launch for allowing the wizard to finish the remaining of the configuration settings in your place.
- From the page of Review Instance Launch, in the section of Security Groups, you can notice that a security group has already been created and chosen by the wizard. It is possible for you to keep this security group or choose the one you got created upon setting up with the below steps:
- Click on the option Edit security groups.
- From the page of Configure Security Group, make sure that the option Select an existing security group is chosen.
- Pick your created security group out of the listed existing security groups, then click on Review and Launch.
- From the page of Review Instance Launch, select the option of Launch.
- In case of being asked for a key pair, click on Choose an existing key pair, and pick the key pair which you got created while setting up.
Do Not Ignore!
Never choose Proceed without a key pair. In case an instance gets launched with no key pair, you will not be able to get connected to it.
Upon finishing, click on the acknowledgement check box, then click on the option Launch Instances.
- You will reach a confirmation page which tells you that your instance has started launching. Click on View Instances to leave this confirmation page and go back to the EC2 console.
- From the screen of Instances, you will be able to check the status of the launch. It won’t take a lot of time for launching your instance. A launched instance’s initial state would be pending. When it starts, the state will become running and it will get a public DNS name. (In case the Public DNS (IPv4) column was hidden, click on the option Show/Hide Columns which is a gear-shaped icon located in the upper right corner then click on Public DNS (IPv4).)
- It might need a couple of minutes to get the instance ready for you to connect to it. Make sure that the status checks of your instance have been passed; this info can be checked from the column named Status Checks.