AWS Serverless Project
There is a project creation wizard in Toolkit for Eclipse where you get to swiftly start creating and configuring your AWS Serverless Project. Such a project can be deployed on CloudFormation, and it will start running Lambda functions. The functions come as responses to RESTful web requests. To learn more about Lambda Functions, take a look at the AWS Lambda How to Create A Function tutorial.
How to Create an AWS Serverless Project?
To create an AWS Serverless Project, go over the below steps:
- Click on the AWS icon found in the toolbar. Select the option New AWS serverless project.
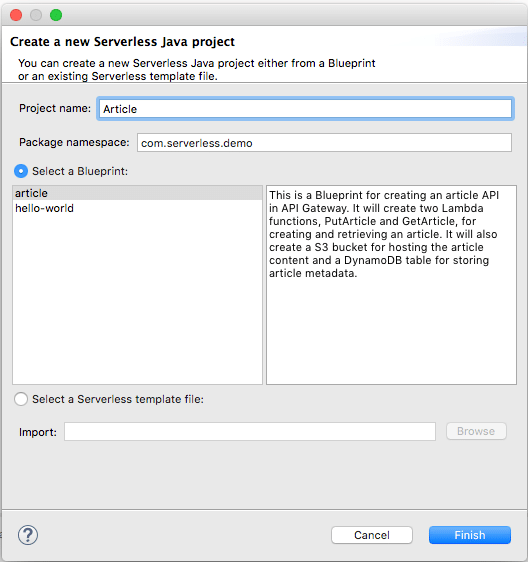
AWS Serverless Project – Project Name, Namespace and Blueprint

2. Fill in a particular Project name.
3. Fill in the project’s Package namespace. It is the prefix for your project’s source namespaces.
4. Make a choice between Select a blueprint or Select a serverless template file:
Select a Blueprint
Pick a pre-defined project blueprint.
Select a Serverless Template File
Pick a file of JSON-formatted SAM .template to get a completely customized project.
5. Click on Finish for creating the project.

AWS Serverless Project – Create a New Serverless Java Project
What does the AWS Serverless Project Wizard Include?
AWS Serverless Project Blueprints:
Below you can check the available project Blueprints.
– article
It can create an S3 Bucket to store your article’s content. It also creates a DynamoDB Table for its metadata. Inside of it, you will find 2 Lambda functions: one for finding an article, named GetArticle and another one to store the article, called PutArticle. API Gateway events will trigger those Lambda Functions.
– hello-world
It is simply used for creating a Lambda function taking one string as value. The output of this function is:
Hello, value
The value parameter represents the entered string. The default value is “World” when there is no entered string.
What is the Structure of an AWS Serverless Project?
When you use the AWS Serverless Project wizard, you will get a newly created Eclipse project. It is made up of the below parts:
- There are 2 sub-directories in the main src directory. Every one of those sub-directories, has a prefix made up of the selected Package namespace:
mynamespace.function
Here you can find class files defined by the serverless template for Lambda functions.
mynamespace.model
Here you can find generic classes of ServerlessInput and ServerlessOutput. Those classes are capable of declaring your function’s models of input and output.
Keep in mind
Your project’s lambda functions and resources are declared in the serverless.template file. It’s a resource which represents the type “AWS::Serverless:Function”.
How to deploy an AWS Serverless Project?
Follow the below steps for deploying your AWS Serverless Project:
- From the window for Eclipse’s Project Explorer, pick the project you created then go to the context menu.
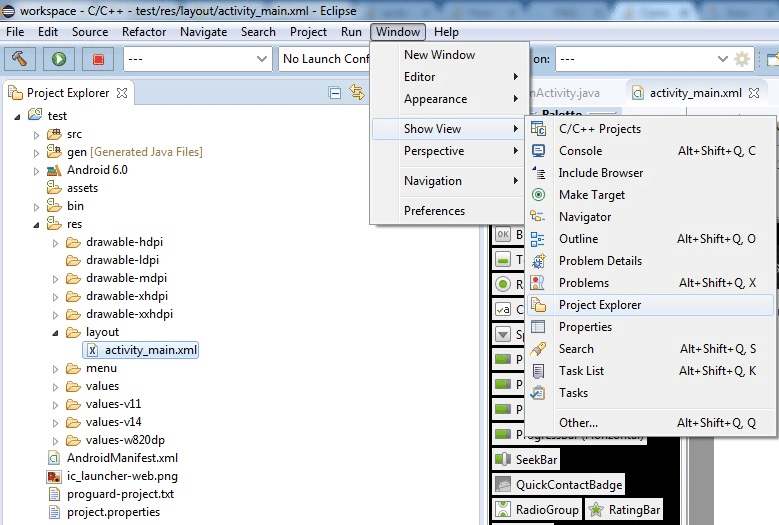
AWS Serverless Project – Project Explorer
- Select Amazon Web Services ‣ Deploy Serverless Project…. Now you will get the dialog called Deploy Serverless to AWS CloudFormation.
- Pick which AWS Regions you’d like. This is for setting where the deployed CloudFormation stack will be.
- Pick an S3 Bucket for storing your Lambda function code. You can even create a new one by clicking the Create button.
- Enter your CloudFormation stack name.
- Choose Finish for uploading Lambda functions to S3. This will also start deploying the selected project template to CloudFormation.
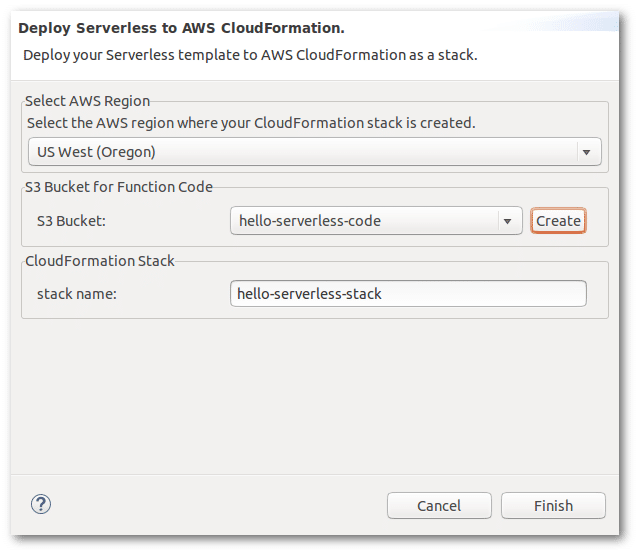
AWS Serverless Project – Deploy Serverless to AWS Cloudformation


The deployment dialog:
After deployment of your project, you will find the deployment’s status and info on a CloudFormation stack detail window. The first deployment status is going to be CREATE_IN_PROGRESS to show that the process of creation is taking place. Activated deployment of the selected project takes place when CREATE_COMPLETE is set as its status.
To head to the same window again, you need to go to the AWS Explorer. From there, choose the node of AWS CloudFormation. After that, choose the stack you set.

AWS Serverless Project – AWS Cloudformation
Keep in Mind
Stack might get rolled back in case of any deployment error.
You can access the AWS CloudFormation console to check your available stacks or to create a new one.