This article provides a detailed overview of using Glue crawlers and how to add a new crawler using AWS Console.
Crawlers on Glue Console
A crawler is normally used to do the following:
- Accesses your data store.
- Extracting metadata.
- Creating table definitions in the Glue Data Catalog.
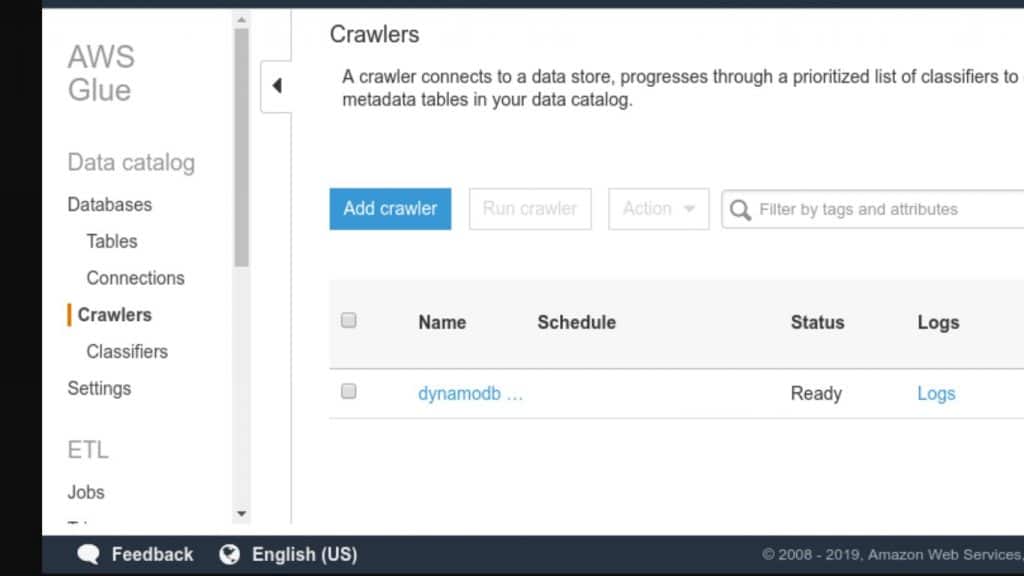
The Crawlers pane: Tends to list all the created crawlers. This list will display status and metrics associated with the last time you ran the crawler.
Adding a crawler through the console
- Login to AWS Management Console and navigate to Glue console. Select Crawlers from your navigation pane.
Crawlers on Glue Console – select
- Click on Add crawler, then go ahead with following the instructions found in the Add crawler.


Crawlers on Glue Console – add crawler
Additional Information
- For checking out a step-by-step guide with the process of adding a new crawler, click on the Add crawler option listed under Tutorials from your navigation pane.
- It’s also possible to refer Add crawler wizard for creating and modifying an IAM role which can attach a policy including permissions for Amazon S3 data stores.
- Otherwise, you’re capable of tagging the crawler using a Tag key and an optional Tag value.
- Upon getting it created, your tag keys are going to be read-only.
- You may refer to utilizing tags on specific resources for the sake of aiding you with organizing and identifying them.
- You are optionally capable of adding a security configuration to a chosen crawler for specifying your at-rest encryption options.
- Upon running a crawler, you will need to give permission to the provided IAM role so that it can gain access to the data store which is crawled.
- For an S3 data store, you’re capable of utilizing the Glue console for the sake of creating a policy or adding a policy which looks close to the one shown below:
| { |
| “Version”: “2012-10-17”, |
| “Statement”: [ |
| { |
| “Effect”: “Allow”, |
| “Action”: [ |
| “s3:GetObject”, |
| “s3:PutObject” |
| ], |
| “Resource”: [ |
| “arn:aws:s3:::bucket/object*” |
| ] |
| } |
| ] |
| } |
- In case your crawler is capable of reading KMS encrypted S3 data, this will mean that consequently, the IAM role will need to get decrypt permission on this KMS key.
- Using the Glue console for creating a policy or adding one which is similarly close to the below shown:
- The following policy can be referred for a DynamoDB data store:
| { |
| “Version”: “2012-10-17”, |
| “Statement”: [ |
| { |
| “Effect”: “Allow”, |
| “Action”: [ |
| “dynamodb:DescribeTable”, |
| “dynamodb:Scan” |
| ], |
| “Resource”: [ |
| “arn:aws:dynamodb:region:account-id:table/table-name*” |
| ] |
| } |
| ] |
| } |
- S3 data stores have an exclude pattern which is relative to the include path.
- As you are crawling a JDBC data store, you will be required to set a connection.
- The excluded path is going to be relative to the include path.
Ex: Excluding a table in a JDBC data store, you simply have to write down the name of this table in the exclude path.
Upon crawling DynamoDB tables, you will be able to select 1 table name out of the listed DynamoDB tables found in the account.
How to View Crawler Results?
- To view results of the specific crawler, fetch the name of this crawler from the list and then select the Logs link.

Crawlers on Glue Console – logs
- By clicking on this link, you will be redirected to AWS CloudWatch Logs service Webpage.
- There details shown regarding tables were from Glue Data Catalog and the errors which may have encountered.
- It’s possible to go ahead with managing the log retention period using AWS CloudWatch console.
- Your default log retention is going to be the following: Never Expire.
- For checking out details of a specific crawler, click on the name of this crawler in the list.
Crawler details: Information defined upon the creation of this crawler using the Add crawler wizard.
Upon the completion of a crawler run, select Tables from the navigation pane for the sake of viewing the tables which your crawler created in the database specified by you.

Crawlers on Glue Console – aws glue
- Below are a couple of significant properties and metrics related to your last run of a chosen crawler:
- Name: For newly created crawler, needs to get a unique and special name.
- Schedule: Your crawler may either be run on demand or on a frequency using a schedule.
- Status: The state of a crawler which may either be schedule paused, starting, scheduled, ready or stopping. When a crawler is running is gets to progress from a starting status to a stopping one. A schedule which is attached to the crawler may be resumed or paused.
- Logs: Available logs’ links out of the last run.
- Last runtime: Period of time a crawler needed for running when it ran the last time.
- Median runtime: Median period of time a crawler needed for running from when it got created.
- Tables updated: Number of updated tables in the Glue Data Catalog through the most recent run of a crawler.
- Tables added: Number of added tables into the Glue Data Catalog through the most recent run of a crawler.
Here are few awesome resources on AWS Services:
AWS S3 Bucket Details
AWS Glue Tags
AWS S3 File Explorer
- CloudySave is an all-round one stop-shop for your organization & teams to reduce your AWS Cloud Costs by more than 55%.
- Cloudysave’s goal is to provide clear visibility about the spending and usage patterns to your Engineers and Ops teams.
- Have a quick look at CloudySave’s Cost Caluculator to estimate real-time AWS costs.
- Sign up Now and uncover instant savings opportunities.